-
Installation of Timberlay Walnut Engineered Flooring

-
Installation of Timberlay Walnut Engineered Flooring

-
Installation of Timberlay Walnut Engineered Flooring

-
Installation of Timberlay Walnut Engineered Flooring

-
Installation of Timberlay Walnut Engineered Flooring

-
Installation of Timberlay Walnut Engineered Flooring

-
Installation of Timberlay Walnut Engineered Flooring

Before the works
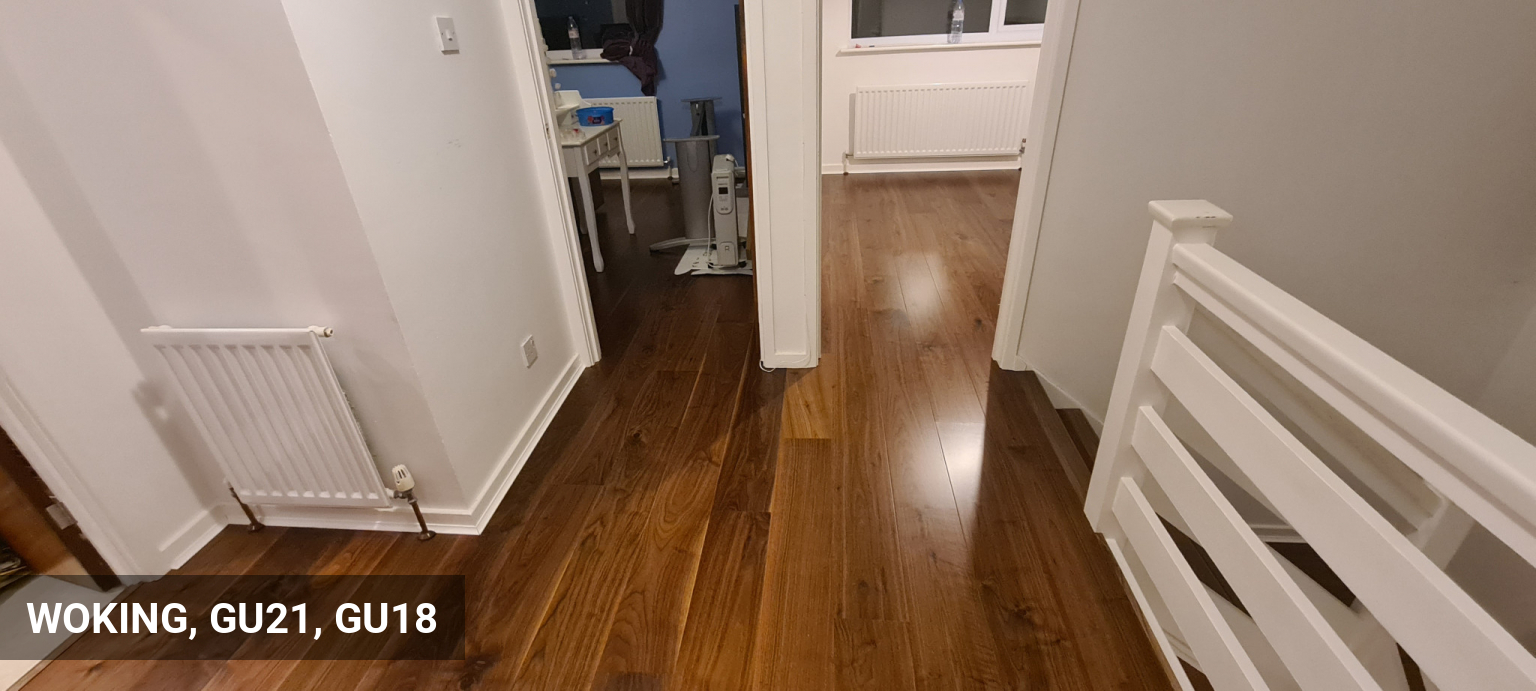
In this floor fitting project we installed engineered walnut wood flooring throughout the first floor of this Woking home, including a flight of stairs to the ground floor.
During our free home survey, we did an inspection of the floors and discussed with the client possible flooring options, suitable for the type of their subfloor. We have also explained the role of underlays and the level of sound-proofing and insulation they offer.
Our client decided to go for the 20 mm thick Timberlay Walnut Engineered Flooring over floorboards and we recommended Timbermate Excel Silver underlay with beading around perimeter.
How we did it...
The floor installation began with removal of existing flooring and assessment of the sub-floor level throughout the area for installation. Any areas with movement, dips or bumps in sub-floor can cause bouncing issues with the new installation and should be resolved prior to the fitting.
On this stage we have full access to the subfloor and now we can take moisture readings from the subfloor, the new timber flooring and check the air-humidity, and environment temperature, which all provide the base for our service guarantee.
As with all floating flooring installation we start with laying the underlay. The underlay plays an important role in the good flooring installation. It improves the thermal insulation of the rooms, reduces the impact noise and air-borne noise and it helps compensate minor differences in the level of the subfloor.
All our flooring installation will flow across all rooms without the need of thresholds (door bars). To do so, we may start with a main line originating from hallway or corridor, going into one or more rooms. Therefore, it is always best empty rooms of furniture as much as possible, prior to the floor works.
In this project we have removed 5 doors and trimmed their height, to allow for the new level of the floors. All doors frames were trimmed to the correct height as well and the planks were inserted below the frames.
Every few rows of planks are glued & strapped together, with an expansion gap of approx. 8 - 10 mm left on perimeter of the walls. The expansion gap in this project was covered by solid white scotia beading.
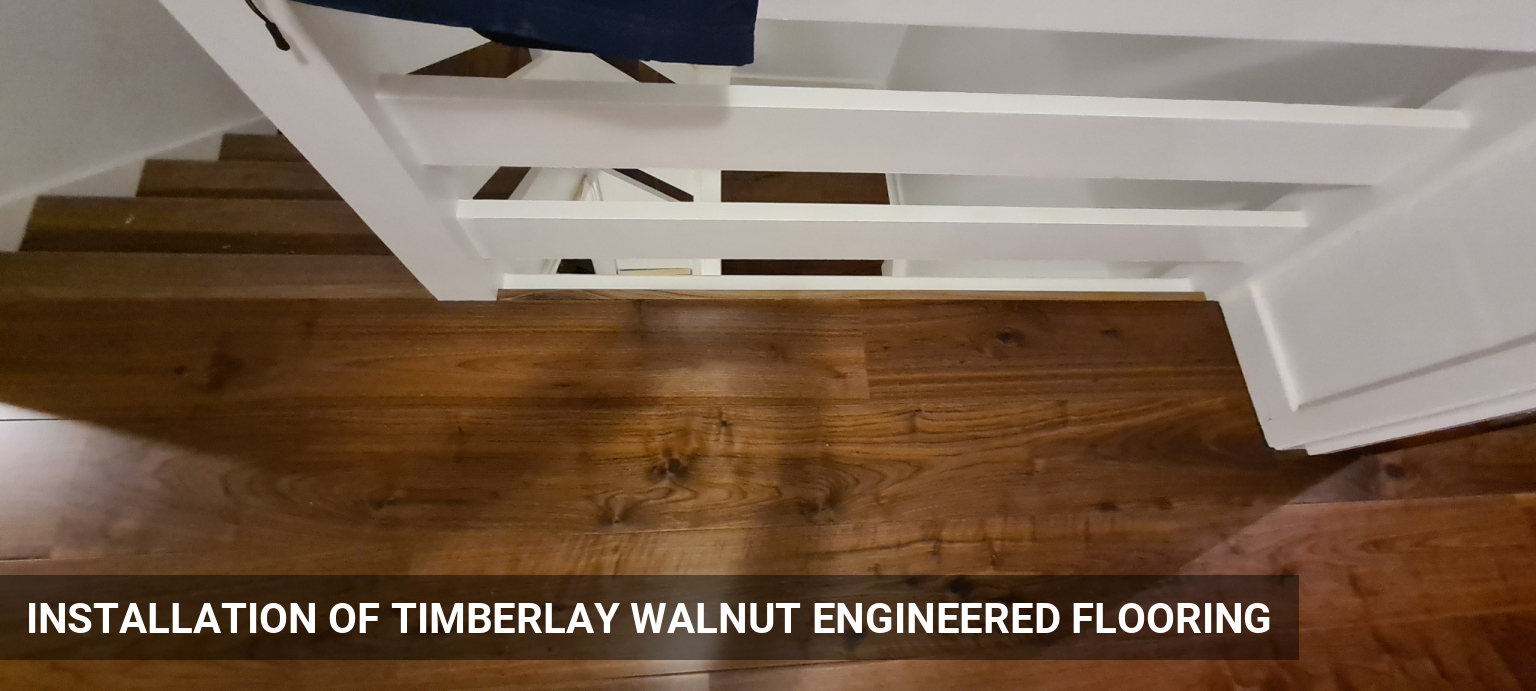
The staircase floor fitting span over 2 days, with individual planks being carefully sized for the steps and risers and glued-down to the original staircase, and joined together a matching new walnut stair nosing for T&G floors.