-
Floor Sanding of Handscraped Oak Flooring

-
Floor Sanding of Handscraped Oak Flooring

-
Floor Sanding of Handscraped Oak Flooring

-
Floor Sanding of Handscraped Oak Flooring

-
Floor Sanding of Handscraped Oak Flooring

-
Floor Sanding of Handscraped Oak Flooring

-
Floor Sanding of Handscraped Oak Flooring

-
Before the floor sanding works

Before the works
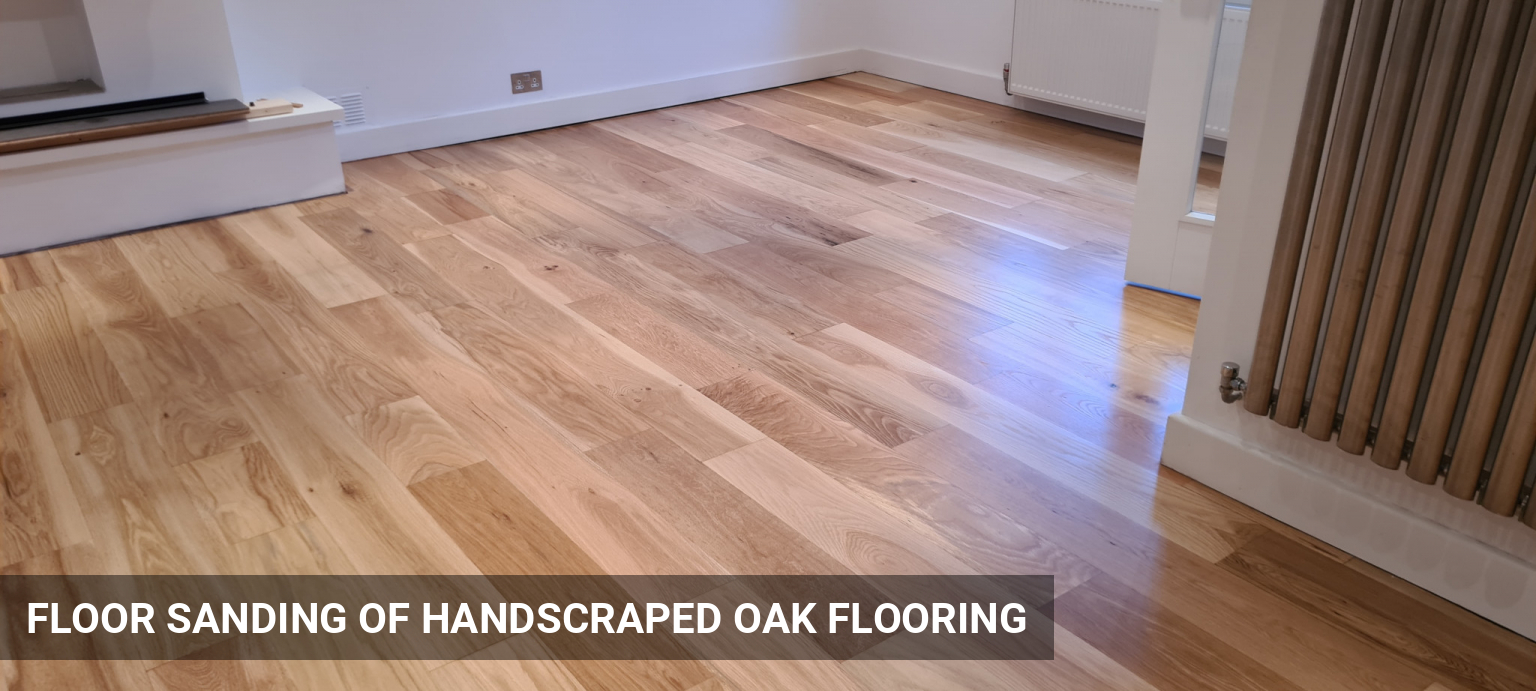
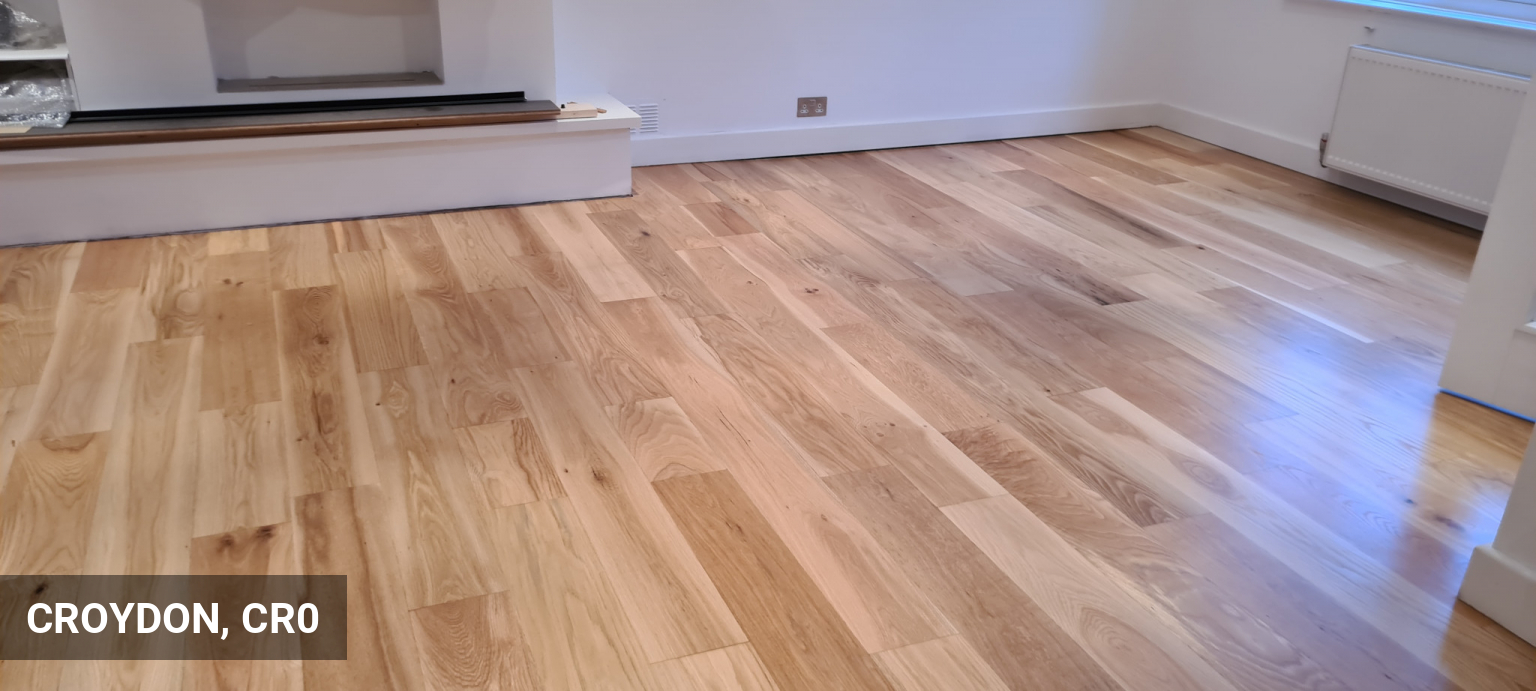
The owners of this dark stained oak engineered wood flooring with handscraped effect in this Croydon home were not completely happy with its apeal and decided to make a change through floor sanding and finishing the floors in completely the opposite natural and light look.
During our free home survey, we did thorough inspection of the floors and discussed with the client all possible options.
Our client has decided to go for gap filling, some minor repairs, staining and finishing the floors in matt lacquer.
How we did it...
Our floor restoration service begins with detailed inspection of the floors and any repairs to the engineered wood flooring will be completed in this initial stage. In this project approx. we had to refit approx. 2 sqm of flooring.
Engineered flooring planks come in 3 main standards of thickness, which also defines how thick is the available for sanding oak top layer of the product. Depending on the overall condition of the floors, the initial floor sanding may start with coarser or medium grid. The task of this stage is not only to remove the previous finish and get the floors to bare wood, but also to provide a good level throughout the entire floor. In the case of engineered wood flooring, the level of the floor is usually good, due the "click" or "tongue-and-groove" locking between the planks.
Next stage in the process of wood floor sanding was the application of the gap filling. On this project we have only applied cosmetic gap filling to few larger gaps, ot improve the overall appearance of the floors.
Sanding the floors with fine grids (80 - 120 gr) and a good rotary buff to the new oak timber surface with high grid buffing screens is the most important stage in the preparation of the wooden flooring for finishing.
Floors were consequently sealed with 3 coats of Bona Mega water-based lacquer in matt sheen with another light screen buff between the coats, for excellent final touch to the finish.