Before the works
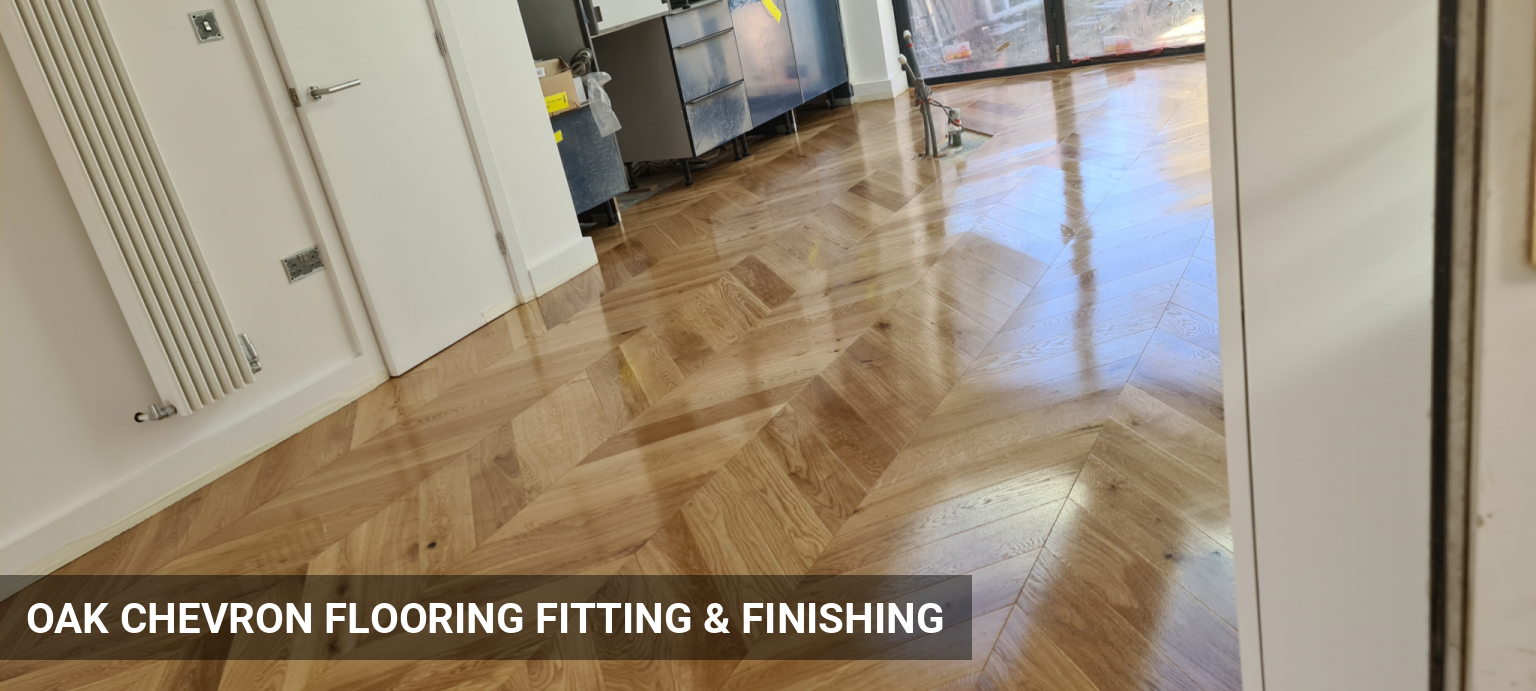
In this project we have installed oak chevron flooring throughout the ground floor of this Barnet home.
During our free home survey, we did an inspection of the floors and discussed with the client possible flooring options, suitable for the type of their subfloor. We have also explained the role of underlays and the level of sound-proofing and insulation they offer.
Our client decided to go for unfinished oak chevron planks over the plied subfloor with glue-down parquet floor installation new skirting boards around the perimeter.
How we did it...
The floor installation began with assessment of the sub-floor level throughout the area for installation. Any areas with movement, dips or bumps in sub-floor can cause bouncing issues with the new installation and should be resolved prior to the fitting.
On this stage we have full access to the subfloor and now we can take moisture readings from the subfloor, the new timber flooring and check the air-humidity, and environment temperature, which all provide the base for our service guarantee.
The subfloor was recently fitted with 18 mm structural plywood and the level was perfect for the new installation.
All our flooring installation will flow across all rooms without the need of thresholds (door bars). To do so, we may start with a main line originating from hallway or corridor, going into one or more rooms. Therefore, it is always best empty rooms of furniture as much as possible, prior to the floor works.
In this project we have removed 2 doors and trimmed their height, to allow for the new level of the floors. All doors frames were trimmed to the correct height as well and the planks were inserted below the frames.
Next stage in the process of parquet floor sanding was the application of the gap filling. We aim apply resin filler in the end of the working day, so it settles properly overnight and we can repeat on following day, if in some places this is required. Gap filling is highly recommended for parquet blocks, as the resin filler reduces gaps and keep moisture away from the base, therefore increasing the solidness and the lifespan of the flooring.
Gap filling is after that removed by next stages of the floor sanding process in medium grids.
Sanding the floors with fine grids (80 - 120 gr) and a good rotary buff to the new oak timber surface with high grid buffing screens is the most important stage in the preparation of the parquet flooring for finishing.
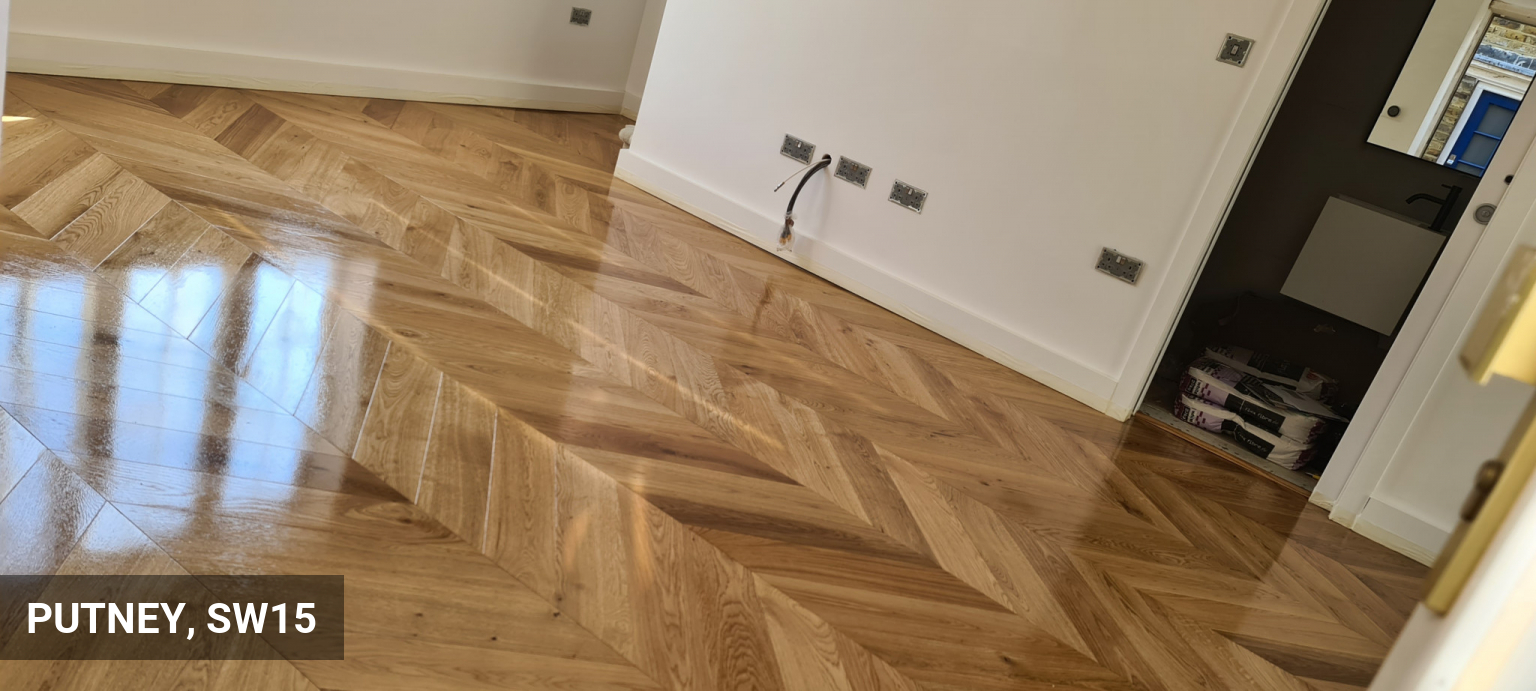
Floors were consequently sealed with 3 coats of Bona Mega water-based lacquer in matt sheen with another light screen buff between the coats, for excellent final touch to the finish.