-
Fitting Painswick Oak Parquet Flooring

-
Fitting Painswick Oak Parquet Flooring

-
Fitting Painswick Oak Parquet Flooring

-
Fitting Painswick Oak Parquet Flooring

-
Fitting Painswick Oak Parquet Flooring

-
Fitting Painswick Oak Parquet Flooring

Before the works
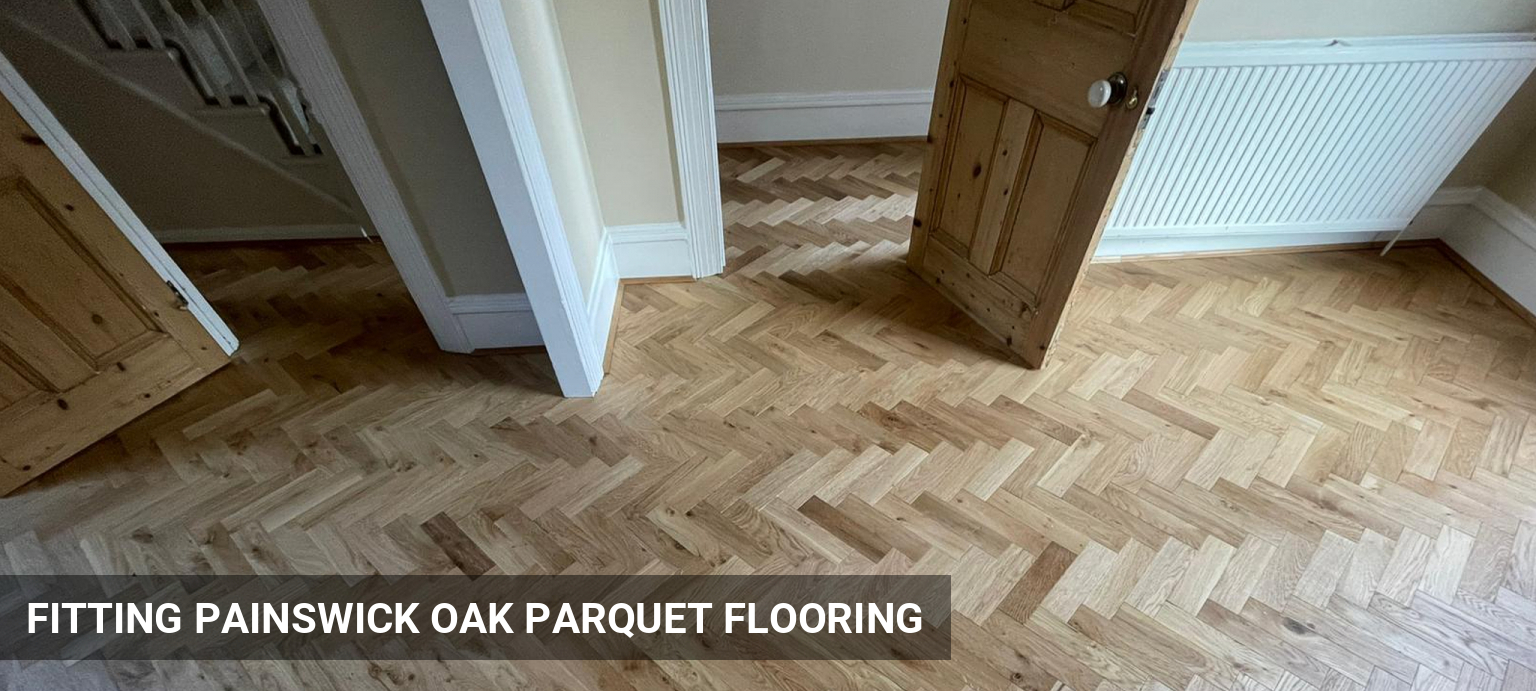
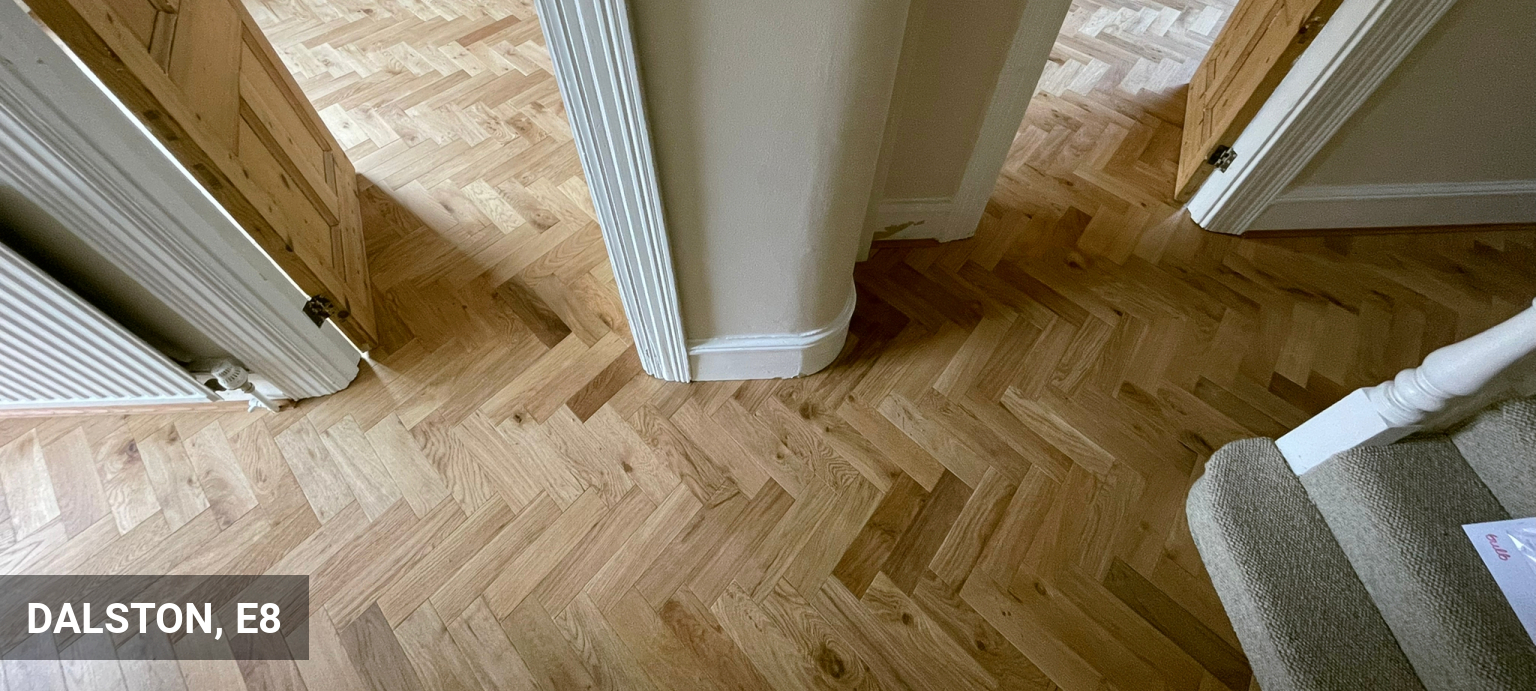
In this project we have installed oak herringbone parquet flooring throughout the ground floor of this Dalston home.
During our free home survey, we did an inspection of the floors and discussed with the client possible flooring options, suitable for the type of their subfloor.
Our client decided to go for TimberCraft Oak Engineered Parquet Flooring over the plied subfloor with glue-down installation and solid oak scotia beading around the perimeter.
How we did it...
The floor installation began with assessment of the subfloor level throughout the area for installation. Any areas with movement, dips or bumps in subfloor can cause bouncing issues with the new installation and should be resolved prior to the fitting.
In this project the subfloor type was not compatible with the type of the flooring, and therefore we have recommended installation of 12 mm flooring-grade plywood, prior to installation of the new parquet flooring on top.
On this stage we have full access to the subfloor, and now we can take moisture readings from the subfloor, the new timber flooring and check the air-humidity, and environment temperature, which all provide the base for our service guarantee.
All our parquet flooring installations flow across all rooms without the need of thresholds (door bars). To do so, we may start with a main line originating from hallway or corridor, going into one or more rooms. Therefore, it is always best to empty rooms of furniture as much as possible, prior to the floor works.
In this project, we have removed 2 doors and trimmed their height, to allow for the new level of the floors. All doors frames were trimmed to the correct height as well and the planks were inserted below the frames.
The herringbone parquet floor is fitted around one or more central lines and the perimeter completed at the end with a finishing expansion gap of approx. 8-10 mm left to the walls (or skirting boards). The expansion gap in this project was covered by solid oak scotia beading.
The final touch of the installation was completed with the skilfully sized profiles around fireplace hearths and front doors.