-
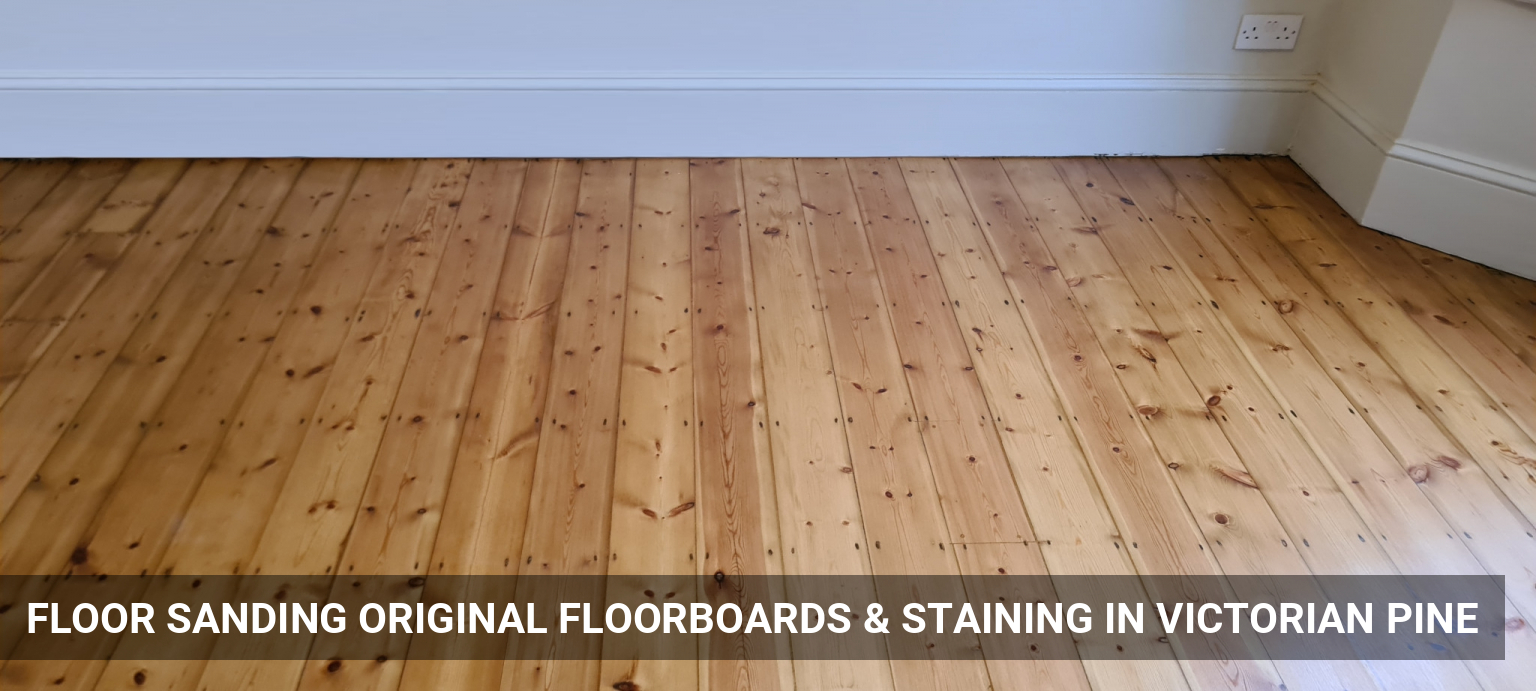
Floor Sanding Original Floorboards & Staining in Victorian Pine

-

-

-

-

-
Floor Sanding Original Floorboards & Staining in Victorian Pine

-
Floor Sanding Original Floorboards & Staining in Victorian Pine

-
The Original Floorboards - before the works

-
The Original Floorboards - before the works

Before the works
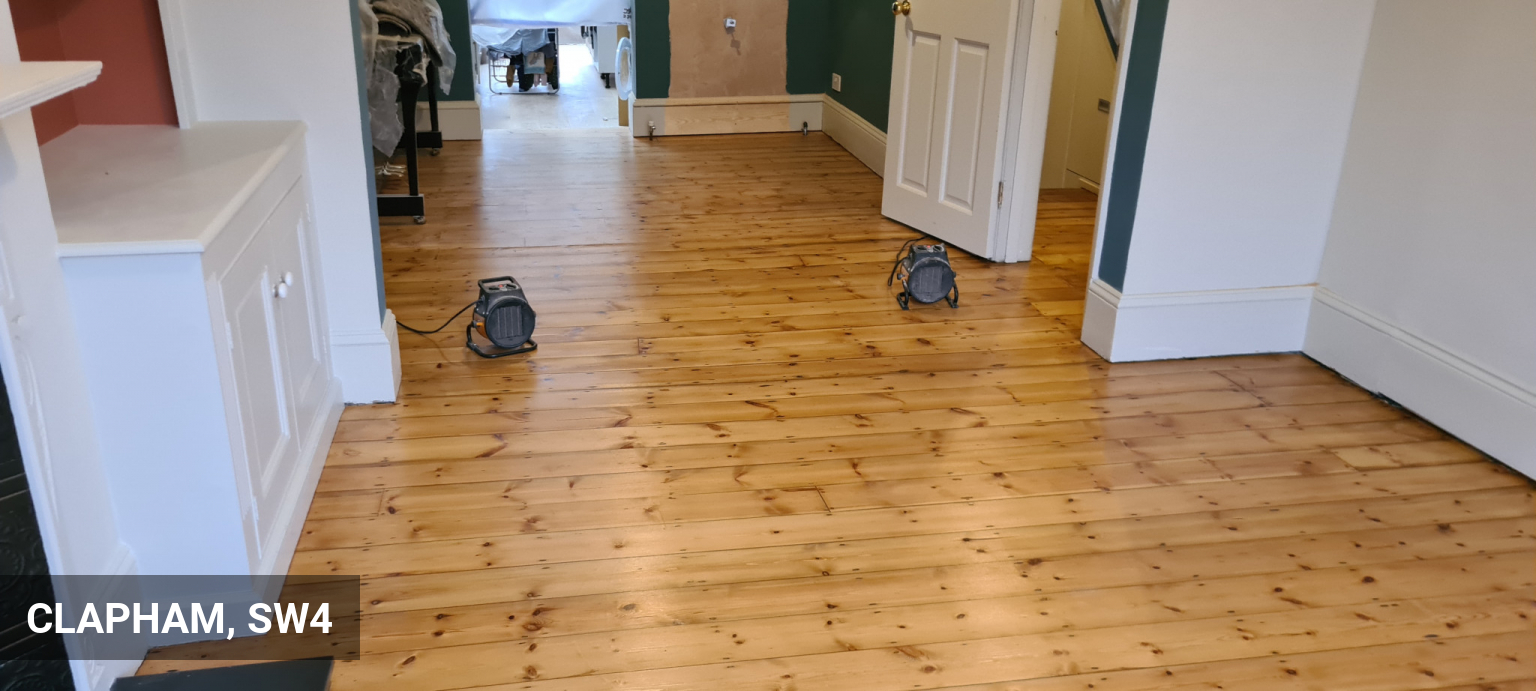
The original floorboards in this Clapham home went through a planned restoration, together with other renovation works in the house.
During our free home survey, we did thorough inspection of the solid wood floors and discussed with the client all possible options.
Our client has decided to go for gap filling, some repairs, staining and finishing the floors in matt lacquer.
How we did it...
Our floor sanding service for floorboards begins with detailed inspection of the floors and any repairs to the floorboards will be completed in this initial stage. In this project approx. we have refitted approx. 30 sqm of floorboards, which has looseness in fittings causing a minor movement.
The thickness of the original pine floorboards used for residential properties is approx. 20 mm when laid. Pine timber shrinks with the time and also becomes thinner every time the floors are restored. The nominal thickness, after which floorboards cannot be restored any further is approx. 15 mm.
Depending on the overall condition and level throughout, the initial floor sanding of the floorboards may start with coarser or medium grid. The task of this initial floor sanding stage is to remove the previous finish and level the floorboards throughout.
Unless the floorboards have been sanded in past 10 - 15 years, they will usually not have a good level. Floorboards covered previously by carpets, can have cupping and larger gaps.
Next stage in the process of wood floor sanding was the application of the gap filling. We aim to apply resin filler in the end of the working day, so it settles properly overnight and we can repeat on following day, if we feel this is required. Gap filling is recommended for wooden floors where no movement of the floorboards is noticed.
Sanding the floorboards with fine grids (80 - 100 gr) and a good rotary buff to the new pine timber surface with high grid buffing screens is the most important stage in the preparation of the wooden flooring for finishing.
A number of colour samples were provided on a sanded surface for the client to review and approve, prior to application and finishing the floors. After consideration, the client decided to stain the floorboards in Victorian Pine from Morrells.
Floors were consequently sealed with a coat of primer and 2 coats of Bona Mega water-based lacquer in Matt sheen with another light screen buff between the coats, for excellent final touch to the finish.