-
Chevron Flooring Installation with Subfloor Prep

-
Chevron Flooring Installation with Subfloor Prep

-
Chevron Flooring Installation with Subfloor Prep

-
Chevron Flooring Installation with Subfloor Prep

-
Chevron Flooring Installation with Subfloor Prep

-
Chevron Flooring Installation with Subfloor Prep

-
Chevron Flooring Installation with Subfloor Prep

Before the works
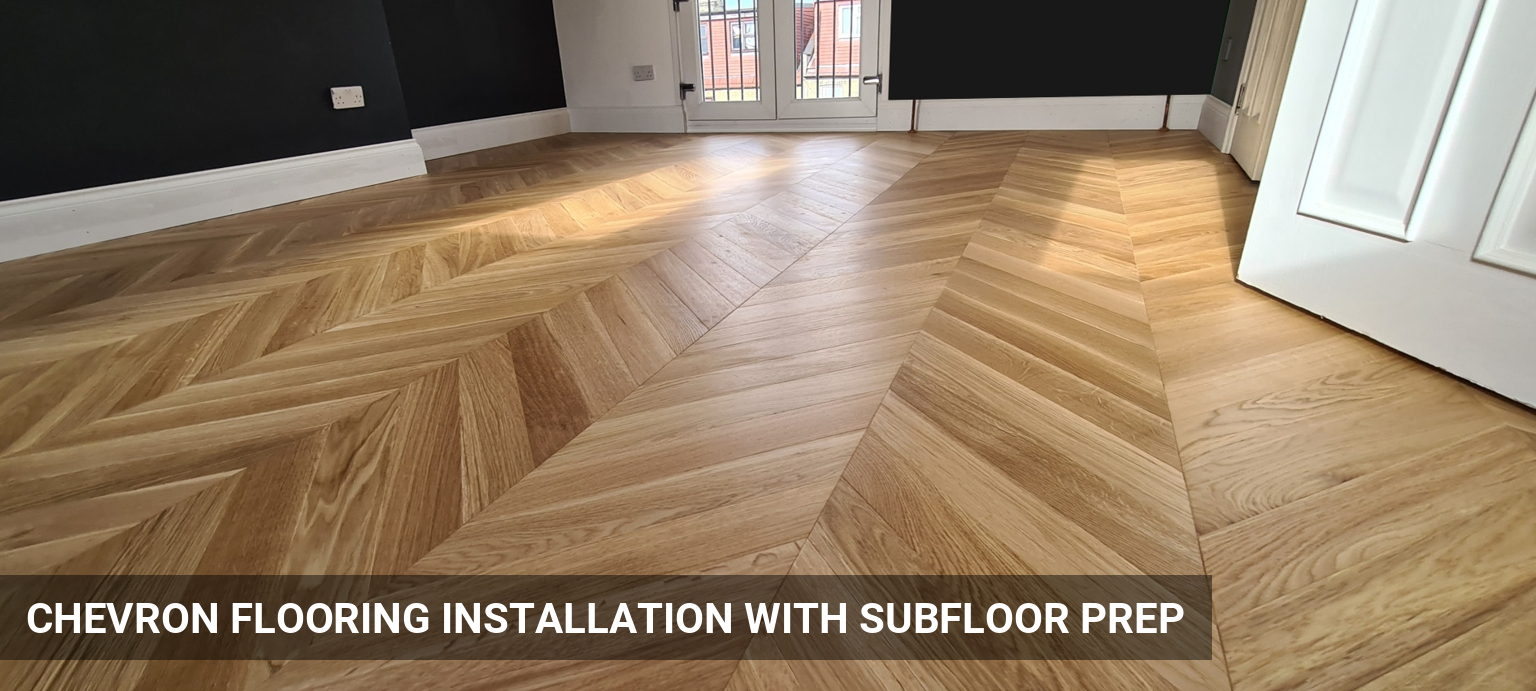
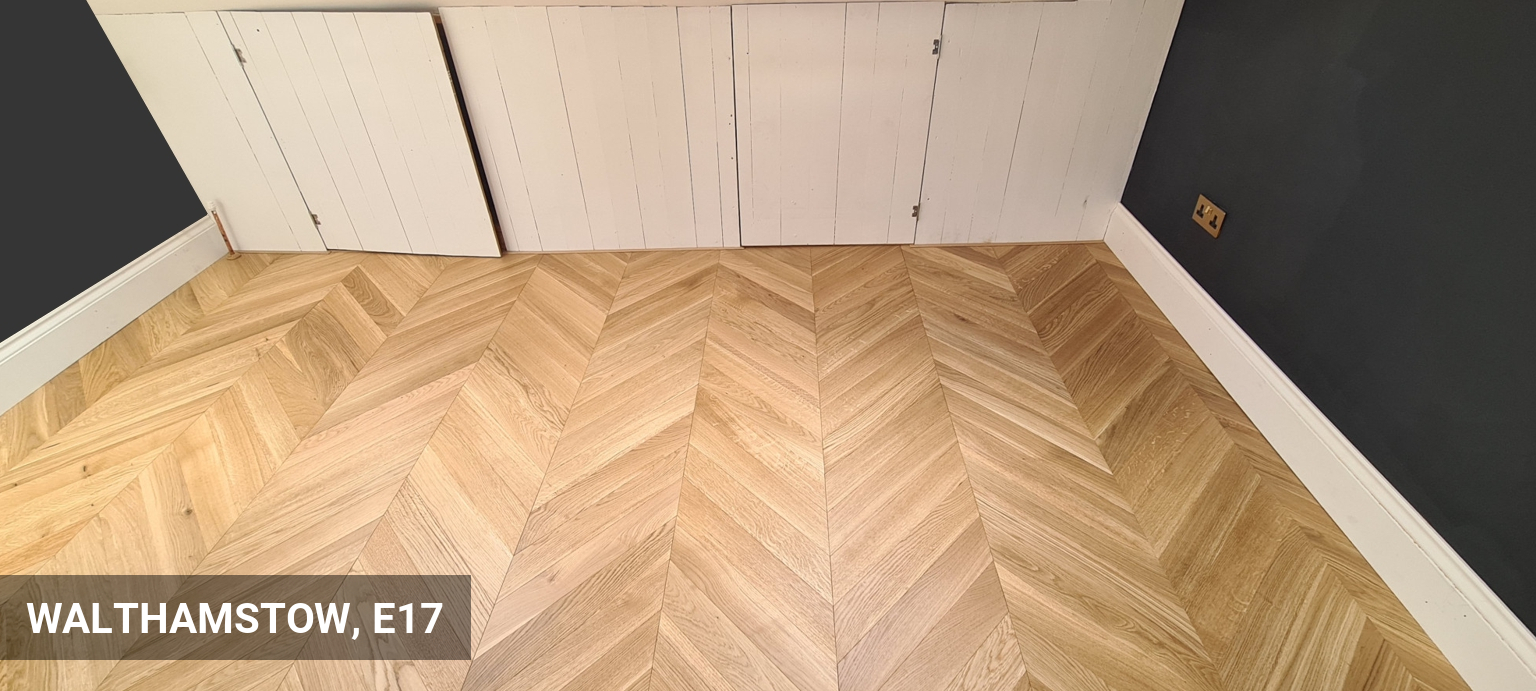
In this project we have installed oak chevron parquet flooring in the loft level of this Walthamstow home.
During our free home survey, we did an inspection of the floors and discussed with the client possible flooring options, suitable for the type of their subfloor.
Our client decided to go for a chevron oak engineered parquet flooring with insulation fitted between the joists and existing chipboard replaced with 18 mm plywood, before the glue-down installation of the parquet flooring.
How we did it...
The floor installation began with replacement of the existing chipboard with 18 mm plywood and assessment of the existing insulation fitted between the joists of the subfloor level throughout the area for installation. Due to areas with movement and dips, the subfloor was completely replaced.
On this stage we have full access to the subfloor, and now we can take moisture readings from the subfloor, the new timber flooring and check the air-humidity, and environment temperature, which all provide the base for our service guarantee.
All our parquet flooring installations flow across all rooms without the need of thresholds (door bars). To do so, we may start with a main line originating from hallway or corridor, going into one or more rooms. In this case we had to make sure, we had a matching nosing and allowed teh right depth and size for fitting it.
The chevron parquet flooring is fitted around one or more central lines and the perimeter completed at the end with a finishing expansion gap of approx. 8-10 mm left to the walls (or skirting boards). The expansion gap in this project was covered by new ogee skirting board.