The Silent Enemy: Understanding and Managing Moisture Content in Wooden Flooring
Moisture plays a significant role in how well your floors perform and how long they last. One crucial factor to consider then, is moisture content. Understanding the impact of moisture on your flooring can help you make informed decisions. By keeping these moisture guidelines in mind, you can prevent common issues like warping or cracking and enjoy beautiful, durable floors.
Why Wood Moisture Content Matters?
Wood is a natural material that naturally absorbs and releases moisture from the air. If the moisture levels in the wood aren’t balanced, it can cause issues like warping, swelling, or cracking after the installation. It is essential for the warranty of the installation that the moisture content in the flooring planks is checked prior to the install.

Visual indicators for presence of high moisture content in wooden floors:
Gapping (Excessive or Local): When wood shrinks due to low moisture content, unsightly gaps can appear between floorboards. Excessive gapping will usually happen when the wooden floors were originally laid with higher moisture content in drier environment.
Cupping or Warping: This occurs when the edges of a board are higher than its center, typically due to rising damp or quick change of moisture levels in the subfloor, resulting higher moisture at the the top of the plank or blocks.
Crowning: The opposite of cupping, where the center of the board is higher than its edges, often caused by the top of the board having a higher moisture. This could be from a leak on the surface of the floors.
Buckling: Severe expansion can cause the entire floor to lift or "buckle" off the subfloor, a serious and often irreversible issue. This also indicates that the expansion gap left on the perimeter of the floor has been exhausted and the planks are rising due to inreasing pressure from the expansion.
Managing moisture content is best left to professional floor installation service, where risk of possible sources of moisture are mitigated in the preparation process with the appropriate for the flooring product installation method. By choosing a flooring company that provides Services Guarantee is a step forward to a trustworthy service.
Need Help with Water Leaks or Flooring Expansion?
Contact Floorworks today for professional advice and on-site assessment of your wooden floors for beast approach to addressing wooden floors damaged by water leaks, gapping, shrinking or expansion.

Tools for Measuring Moisture Content
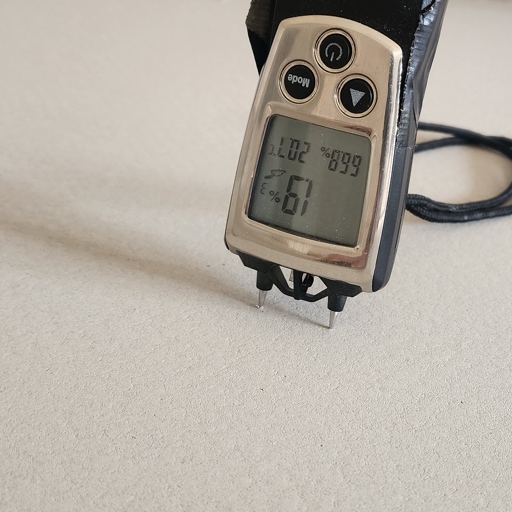
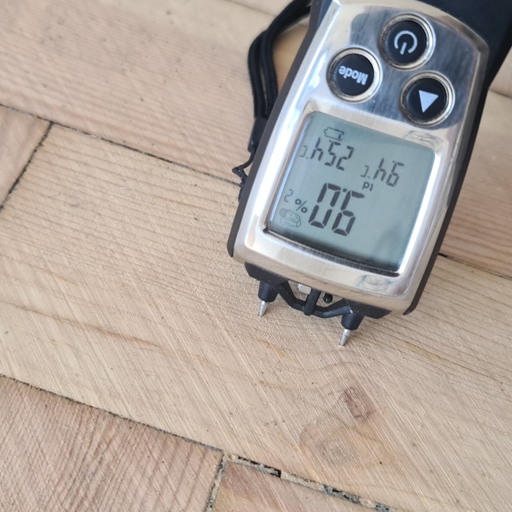
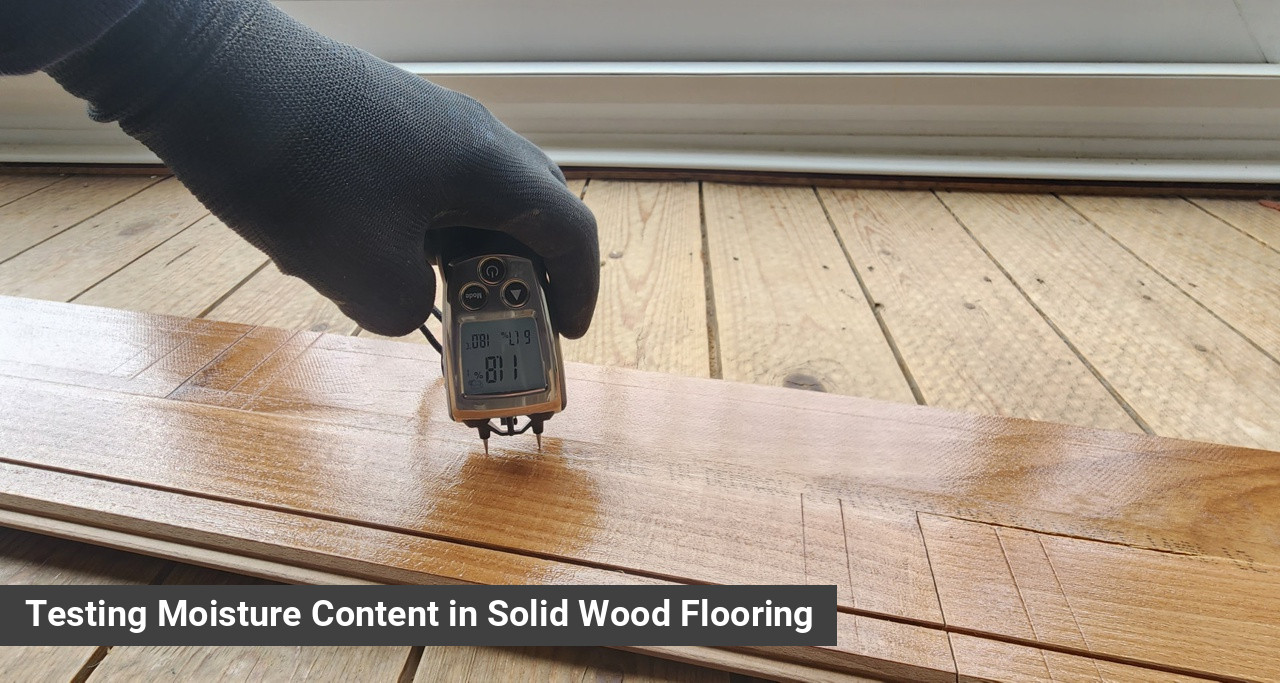
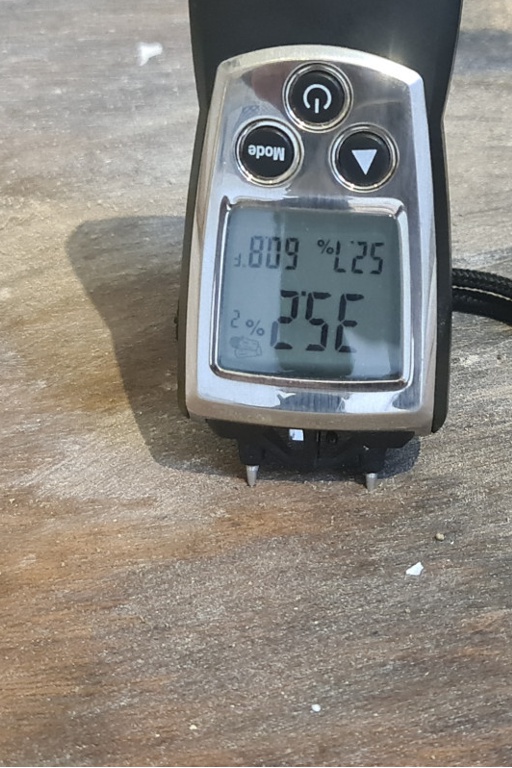
To check the moisture content of wooden floors, professionals use a tool called a moisture meter. This instrument can take readings of the moisture content in the wood or other materials using conduction, ensuring it falls within the appropriate range before and after installation.
Different timbers and construction materials have different conduction, used to register moisture levels. There are many moisture readers, however it is important that the tool(s) used for measuring are able to read correctly in the timbers in question - oak, beech, walnut, pine, spruce, etc. or concrete, plaster etc. Room and air-humidity should be noted as well.
Accurately measuring moisture content is the first step in effective management. There are two main types of moisture meters available, catering to different needs and budgets:
Pin-Type Moisture Meters: These meters have two small pins that are pressed or hammered into the wood surface. They measure electrical resistance between the pins, which changes with moisture levels.
Pros: Generally more affordable, provide precise readings at the point of contact, can detect moisture gradients within the wood.
Cons: Leaves small holes in the wood, making them less ideal for finished surfaces.
Where to Buy in the UK: Available from DIY stores like Screwfix and Toolstation, or specialist trade suppliers.
Pinless (Non-Invasive) Moisture Meters: These meters use electromagnetic waves to scan a larger area of the wood without piercing the surface. They measure the average moisture content within a specific depth.
Pros: Non-damaging to finished floors, faster to use for scanning large areas, convenient.
Cons: Generally more expensive, readings can be influenced by surface treatments or subfloor materials (e.g., metal), provides an average rather than pinpoint reading.
Where to Buy in the UK: Professional-grade pinless meters (e.g., Protimeter, Tramex) are available from specialist flooring suppliers like Havwoods Accessories, Tywi Solutions, and building material testing equipment suppliers. Some higher-end DIY versions might be found at Screwfix or Amazon UK
What are Ideal Moisture Levels for Wooden Floors?
- Acceptable moisture content levels for most timbers is 7% - 12%, where readings of 12% or higher is an indication of damp / leak source in an existing installation or flooring product, which was not properly addressed or managed. This range helps the wood remain stable once it’s installed, reducing the risk of expansion or contraction.
- Acceptable threshold for moisture content in concrete subfloors is below 3%. Higher moisture levels in concrete can lead to a range of issues, including mold growth, floor warping, or adhesive failure.
Please note, while industry standards may slightly differ for concrete, Floorworks™ takes in consideration years of experience and tollerance that is practically safe.
First Steps After Bulging or Warping Appears on Wooden Floors
If you notice your wooden floor bulging, cupping, or gapping, it's a clear sign of moisture imbalance. Here's what to do:
Measure Moisture Content: Use a moisture meter to get readings from several areas of the affected floor, nearby unaffected areas, and ideally, the subfloor. Repeat every 24 hours to register changes.
Please note, the quality of the moisture reader may not be important for this excercise - even the simplest moisture reader can help confirm if a moisture issue is present and identify the extent.Identify the Source of Moisture: This is the most crucial step.
Excess Moisture: Look for leaks from pipes, appliances (dishwashers, fridges), radiators, or external sources like leaky roofs or rising damp from the subfloor. Check for condensation around windows.
Lack of Moisture: Consider if the heating has been on high for an extended period without sufficient humidity, or if the house has been left vacant and unheated in cold, dry weather.
Address the Source:
For Excess Moisture: Stop the leak immediately, dry out the area thoroughly using fans and dehumidifiers. You may need to temporarily remove some floorboards to facilitate drying of the subfloor.
For Lack of Moisture: Introduce humidity gradually using humidifiers.
Contact Professional Flooring Company: If the problem is extensive and you require professional assessment contact Floorworks for advice. Floorworks is a professional flooring service covering London, Surrey, Buckinghamshire, Hertfordshire and Essex, but even if you are outside our service coverage our expert will be able to help you with advice.
Allow for Acclimation/Re-equilibration: Once the moisture source is controlled, give the floor time to re-acclimate naturally. This could take weeks or even months. Do NOT try to force it back into place with weight or drastic measures, as this can cause further damage.
How to Maintain Proper Moisture Levels
Choose Professional Floor installer: By trusting your concrete subfloors are properly dried and moisture levels are kept below 3% and your timber product is tested by professional, you create a stable, dry foundation that supports the longevity and durability of your flooring. This proactive approach helps prevent costly repairs and ensures your installation remains in top condition for years to come.
Control Indoor Humidity: Use a humidifier or dehumidifier to maintain consistent indoor humidity levels.
Avoid Excessive Moisture: Be cautious with water spills and avoid installing wooden floors in very wet areas like bathrooms or basements unless proper moisture barriers are used.
Use the Right Cleaning Products: Use cleaning solutions specifically designed for wooden floors. Avoid harsh chemicals or excessive water, which can increase moisture levels or damage the wood.
Ensure Proper Ventilation: Improve ventilation in your home by opening windows and using exhaust fans, especially in high-moisture areas like kitchens and bathrooms. Good airflow helps regulate indoor humidity levels.
Address Spills Immediately: Wipe up any liquid spills on your wooden floor immediately to prevent moisture from soaking into the wood or finding its way into unsealed gaps.
Use Mats and Rugs: Place doormats at entrances to trap dirt and moisture, and consider rugs in high-traffic areas or spots prone to spills (e.g., in front of sinks).
By understanding the role of moisture content in wooden flooring, using the right tools, and implementing preventative measures, you can ensure your wooden floors remain a stunning feature of your home for decades to come.


