
If you've ever requested quotes for a floor installation and wondered why two contractors looking at the same room come back with numbers that are significantly different, you're not alone. It's one of the most common questions we get at Floorworks — and the answer isn't always that one quote is cheap and one is expensive. Sometimes they're genuinely measuring different things.
Floor installation pricing isn't a flat rate per square meter. It's a calculation that involves the floor type, the pattern, the subfloor condition, the method of installation, the finish applied, and the complexity of the space. Understanding what goes into the number helps you compare quotes properly, ask the right questions, and make a decision you won't regret once the work is finished.
Here's every factor that matters — and why.
The Type of Flooring Being Installed
The material itself is where the cost calculation starts. Different floor types have different installation requirements — different tools, different methods, different preparation — and those differences are reflected in the price.
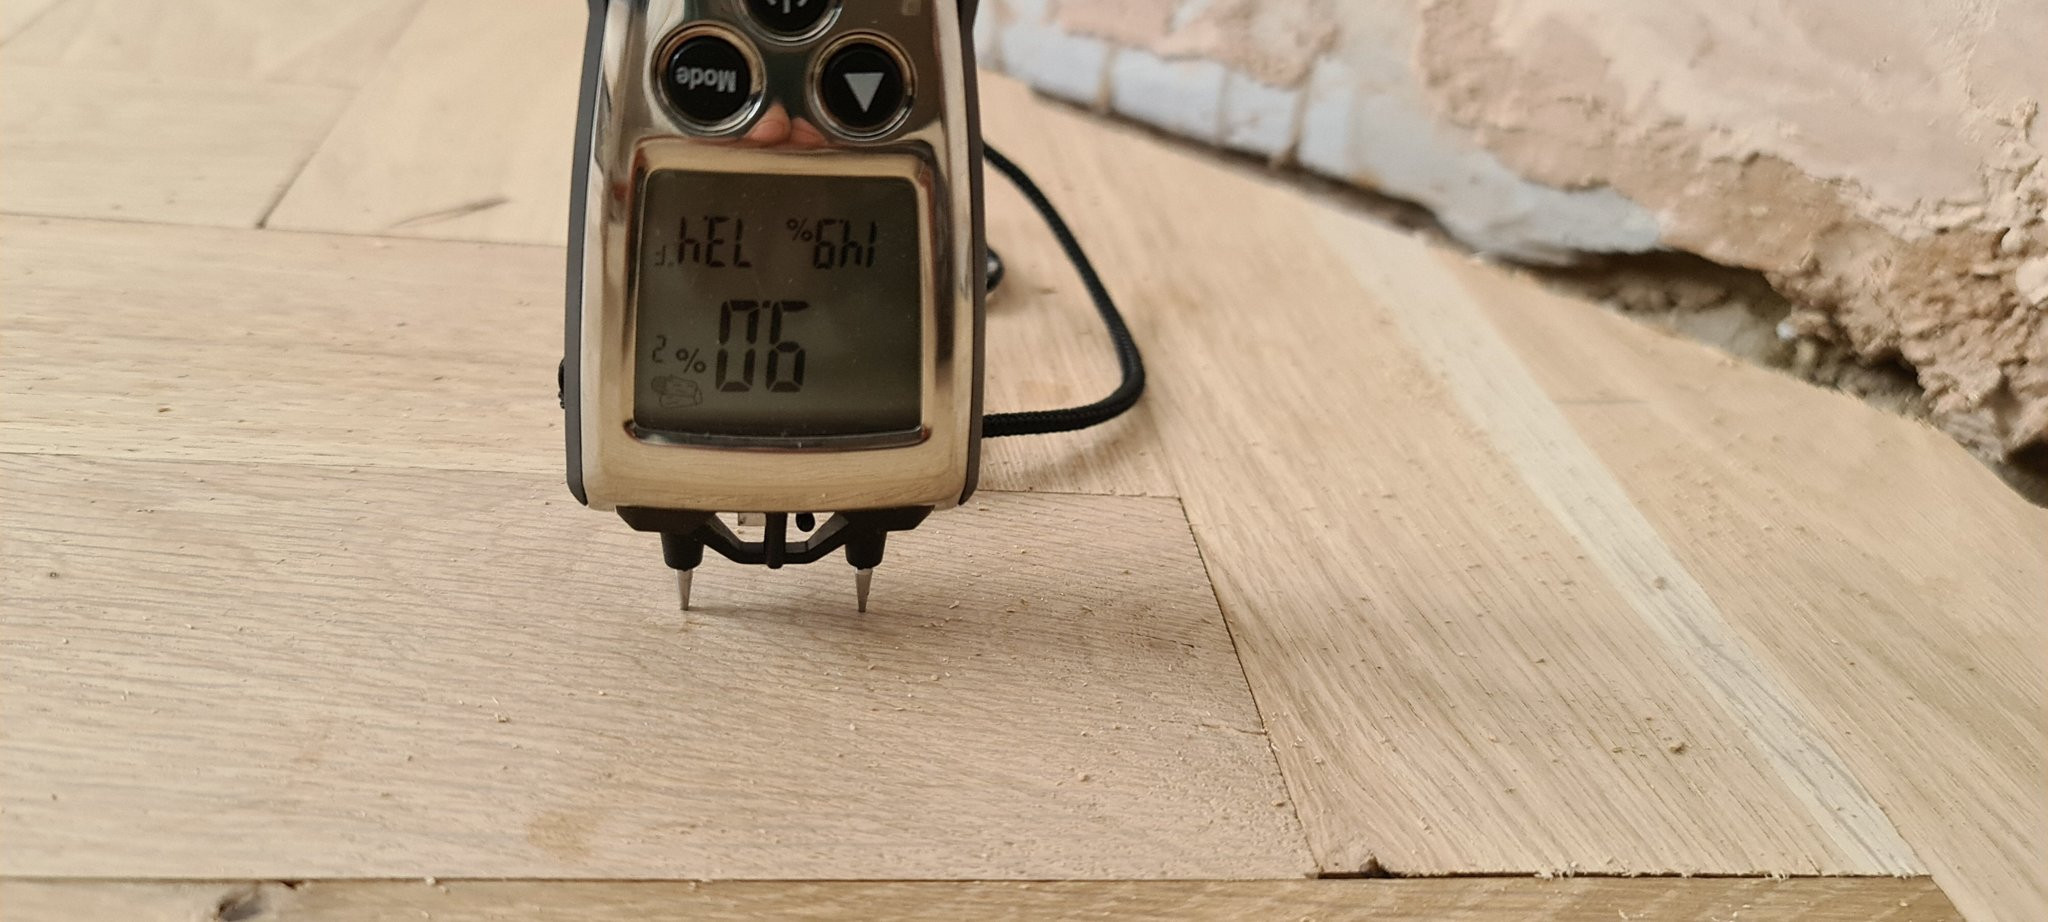
Solid wood flooring is the most technically demanding installation of the main floor types. Solid boards move significantly with humidity and temperature changes, which means acclimatisation time before installation, careful subfloor preparation, and a method that accommodates seasonal movement without the floor lifting or gapping. At Floorworks, we always measure the humidity of solid wood planks or blocks before installation begins — because fitting solid wood that hasn't acclimatised to the environment it's going into is one of the most common causes of post-installation problems.
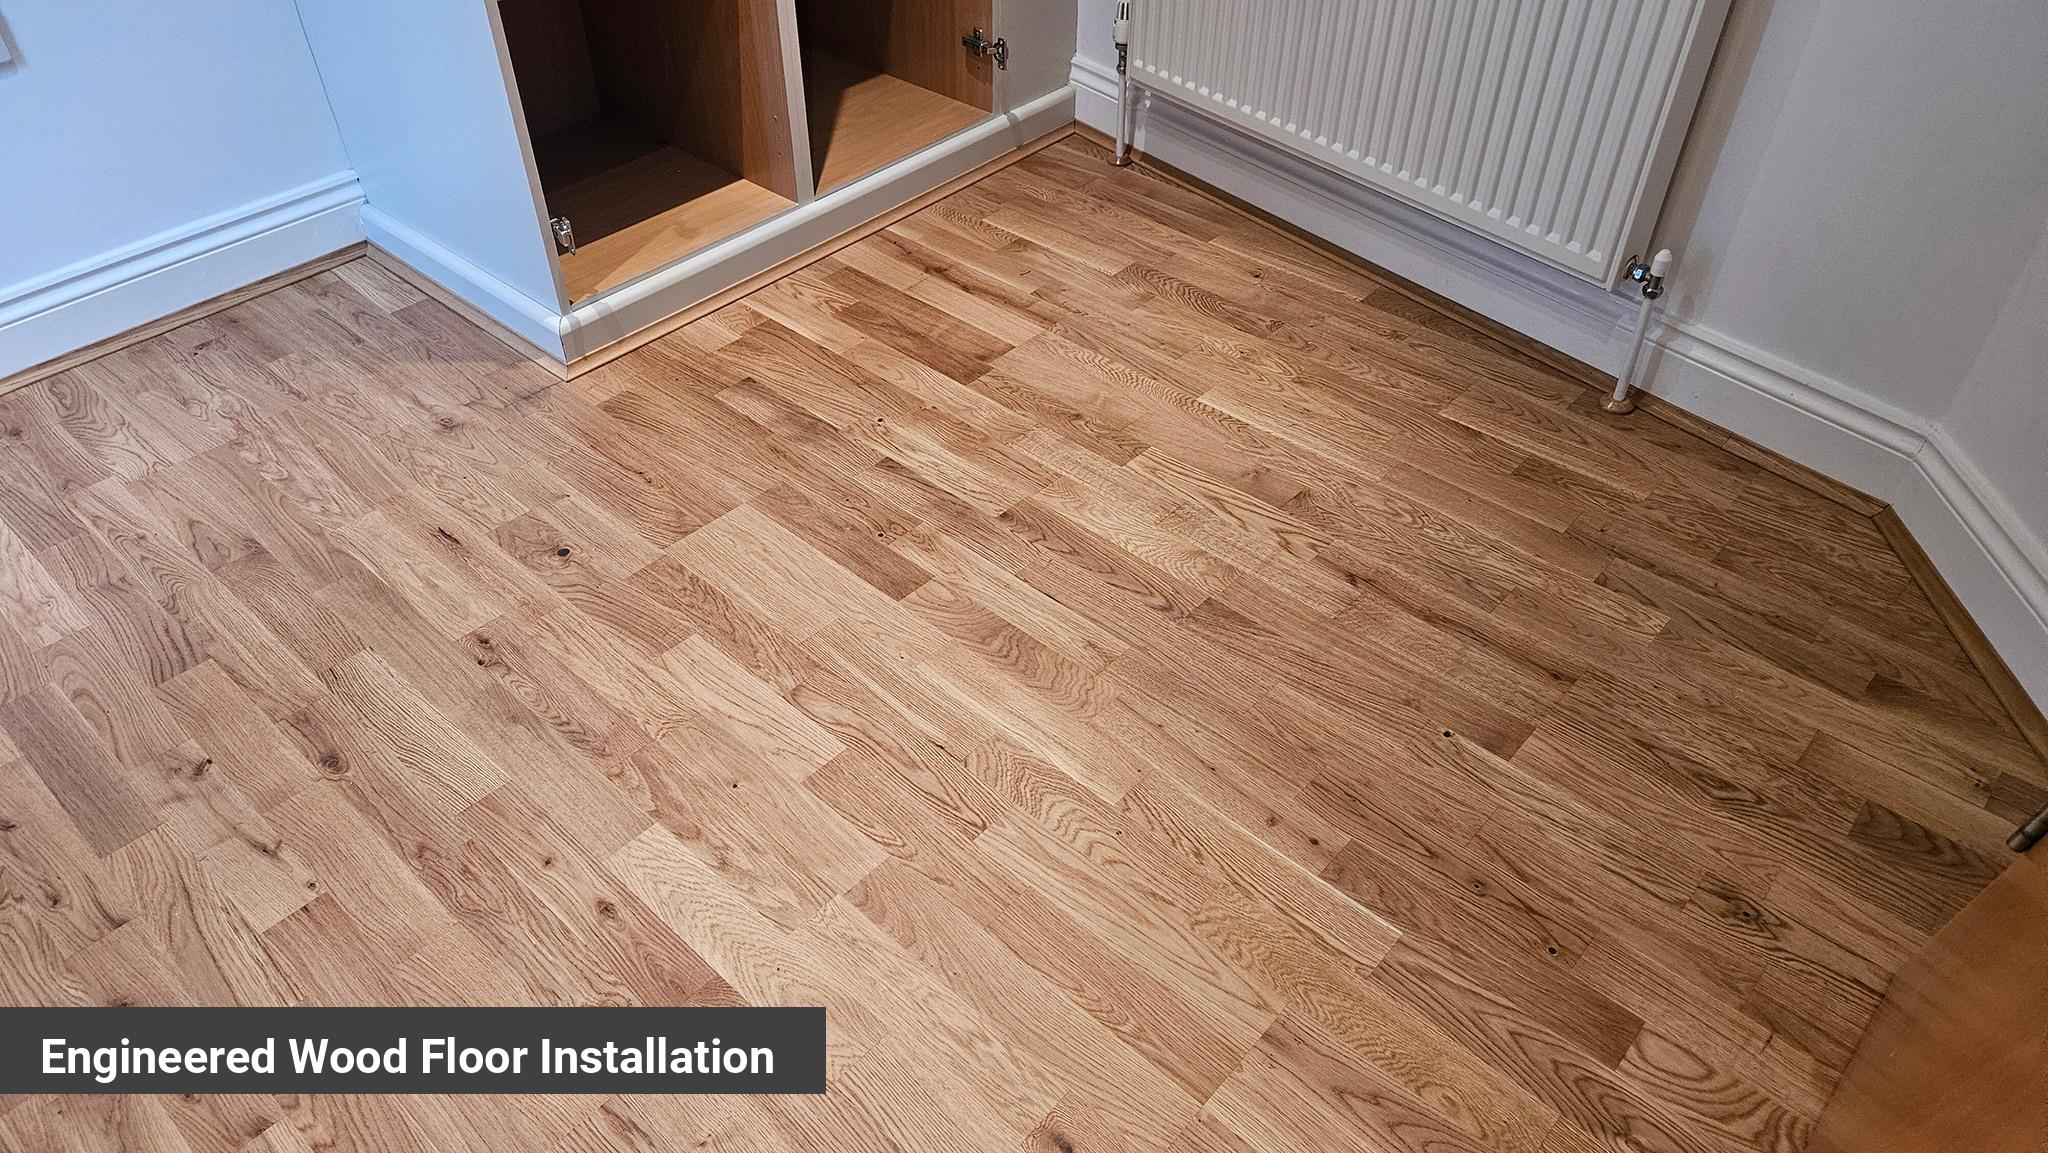
Engineered wood flooring is more dimensionally stable than solid wood and can be installed using floating, glue-down, or nail-down methods depending on the subfloor and specification. It's generally faster to install than solid wood and handles a wider range of subfloor conditions — particularly useful over underfloor heating where solid wood would be problematic. Our engineered wood floor installation service comes with a two-year service guarantee, covering both the fitting quality and the post-installation performance of the floor.
Parquet flooring — herringbone, chevron, basket weave, or mosaic — is the most time-consuming installation of all the floor types. Every block is individually placed and positioned, the layout has to be planned from a calculated centre point, and the edge work at perimeters and around obstacles is significantly more complex than for a straight-lay plank floor. The price reflects that additional time and skill directly. We cover this in more detail in our article on what makes parquet flooring more expensive to install
LVT flooring — Luxury Vinyl Tile — is generally the most straightforward installation, particularly in floating format. Floating LVT can be laid over many existing subfloor surfaces without the same level of preparation that timber requires, and the installation itself is faster. Glue-down or dryback LVT requires more preparation and takes longer but produces a more stable result in high-traffic or commercial environments. For most residential installations, floating LVT in London typically runs between £20 and £35 per square meter for the fitting alone.
Laminate flooring is typically the most cost-effective installation, with a floating method that's relatively fast and doesn't require adhesive. We install leading brands including QuickStep, Balterio, and Egger, and all our laminate installations include free matching accessories.
The Pattern & Layout Complexity
Within the same floor type, the pattern is one of the biggest variables in installation price — and one that people often underestimate.
A straight-lay plank floor is the most efficient to install. The boards run in parallel, the cuts at the walls are straightforward, and an experienced fitter can cover a significant area in a day.
A diagonal lay — the same floor type, same material, same subfloor — takes longer immediately. The boards run at 45 degrees to the walls, every board at the perimeter requires an angled cut, and the pattern requires more careful setting-out to ensure it reads correctly across the whole space.
Herringbone and chevron take that complexity further still. The individual blocks are short, every one is placed separately, the setting-out from the center point takes time, and the edge work at perimeters requires each cut piece to be individually measured and cut at the correct angle. A herringbone installation can involve four or five times as many individual pieces as the equivalent area in straight plank — and each one takes time to place accurately.
As a reference point: herringbone parquet installation in London typically runs between £30 and £45 per square meter for the laying alone, compared to £20–£35 for floating LVT in a straight pattern. That difference is entirely accounted for by the additional time and skill the pattern requires.
Decorative borders — a single or double block border around the perimeter of a parquet floor, or an exotic wood accent strip in walnut, mahogany, or wenge — add further complexity and cost, both in materials and in the precision fitting required at the junction between the main floor and the border.
Subfloor Preparation
This is the factor that produces the biggest surprises in quotes — and the one that's most often left out of cheaper estimates.
No floor installation performs well on a poorly prepared subfloor. Timber that's unevenly supported lifts, flexes, and creaks. LVT over a subfloor with minor bumps develops visible high and low spots that catch the light. Parquet blocks laid on a subfloor that's out of level by more than 3mm across a two-meter span will cup and loosen within months. The subfloor is the foundation of everything that goes on top of it, and preparing it properly is non-negotiable for a result that lasts.
Concrete subfloors that are uneven are typically levelled using a self-levelling compound (SLC). The compound is poured over the surface, flows to fill low spots, and cures to a flat, hard finish. The cost depends on the area and the degree of unevenness to be corrected — but it's a real cost, and any quote that omits it is either assuming the subfloor is perfect (unlikely in most London properties) or leaving the problem for the fitter to deal with on the day.
Timber subfloors — old floorboards that are bouncy, uneven, or have significant gaps — are typically levelled by overlaying with plywood. The ply creates a flat, stable base that distributes load evenly across the boards beneath. Again, this is a cost that has to be included in any accurate quote.
Moisture testing is always part of our pre-installation process at Floorworks. We test the moisture content of the subfloor before any timber floor goes down — because a subfloor that's carrying elevated moisture will transfer that moisture to the new floor above it, causing movement, cupping, and adhesive failure. A liquid DPM (damp-proof membrane) is applied where moisture levels require it, adding to the preparation cost but preventing problems that would cost far more to fix post-installation.
At Floorworks, we give itemised quotes that clearly separate subfloor preparation costs from installation costs — so you always know exactly what you're paying for and why. If the subfloor condition isn't known at the time of quoting (because it's covered by existing flooring or furniture), we'll flag this and give an indicative range rather than a fixed number that may change on the day.
The Method of Installation
For the same floor material, different installation methods have different cost implications.
Floating installation — where the floor is laid over an underlay without being fixed to the subfloor — is the fastest and most cost-effective method. It works well for many engineered and LVT products and is often the right choice for residential installations over relatively even subfloors. The trade-off is that a floating floor has slightly more movement underfoot than a glued or nailed one, which some people notice and some don't.
Glue-down installation takes longer and uses more materials, but produces a more stable, solid result — particularly for parquet and dryback LVT. It's the only appropriate method for parquet flooring, for timber over underfloor heating systems, and for commercial environments where the floor takes sustained heavy traffic. The adhesive also adds a material cost that floating installation doesn't have — we use Tovcol MS throughout our glue-down installations, a professional-grade adhesive that maintains its bond through temperature fluctuation and the seasonal movement of timber.
Nail-down installation is the traditional method for solid hardwood, where the boards are fixed to a timber subfloor using secret nailing through the tongue. It's a method we're very familiar with at Floorworks — we respect both the good old nail-down approach and modern adhesive systems, and we'll advise on the right method for the specific floor and subfloor combination.
Acclimatisation
This is a cost that often isn't talked about but is real in terms of project time and logistics.
Timber flooring — particularly solid wood and parquet blocks — needs to acclimatise to the environment it's being installed in before fitting begins. The wood needs to reach an equilibrium moisture content with the room conditions, which takes time. Rushing this stage produces a floor that moves, gaps, or cups after installation as it adjusts to conditions it wasn't acclimatised to before being fixed down.
At Floorworks, we always test humidity levels of the planks or blocks before installation and won't fit a floor that hasn't properly acclimatised. This may occasionally extend the timeline of a project, but it's what prevents the callbacks and costly remediation work that comes from fitting a floor before it's ready.
Door Trimming, Profiles, and Accessories
These are the finishing details that make a floor installation look complete — and they're worth understanding as part of the overall cost.
- Door trimming is needed when a new floor is thicker than the existing one and doors won't clear it. The bottom of door frames and architraves needs to be undercut to allow the new floor to slide beneath them cleanly. This is a technical detail that makes a significant visual difference — a floor that slides cleanly under the door frame looks professional; one that meets a visible line at the door frame looks like an afterthought.
- Thresholds and transition strips cover the join between the new floor and an adjacent floor type — a different room, a tiled kitchen, a carpeted bedroom. These need to be colour-matched to the floor and fitted correctly at the junction. At Floorworks, we supply and fit matching flooring accessories including skirting boards, beadings, and thresholds for all the floor types we install.
- Stair nosings are needed when the new floor extends to a staircase. These are specific profiles that cap the edge of each step and need to be correctly specified for both the floor type and the step profile.
The Finish Applied After Installation
For timber floors, the finish applied after fitting is a separate cost from the installation itself — and it varies significantly depending on the product specified.
A lacquered finish requires sanding the floor after laying to bring it to a flat, even surface, then applying primer and multiple coats of lacquer. For high-traffic areas, we use Bona Traffic HD — a two-component water-based polyurethane that provides exceptional durability. For commercial spaces and sports halls, Junckers HT700 or Loba 2K Fusion are our specifications of choice.
An oiled finish — using Osmo Polyx Hardwax-Oil — involves a different application process and produces a different result: more natural in appearance, easier to spot-repair, but requiring more regular maintenance than a lacquered floor.
The number of coats matters as much as the product. Primer plus two coats is the minimum for residential floors. Primer plus three coats is what we recommend for high-traffic spaces — hallways, open-plan living areas, commercial premises. The additional coat adds time and material cost but extends the lifespan of the finish significantly.
The Size and Shape of the Space
Larger areas are generally more cost-effective per square meter than smaller ones — the fixed time costs of setting up, preparing, and finishing are spread across more floor. A single large room will almost always have a lower cost per square metre than a collection of small rooms of the same total area.
Irregular rooms, rooms with many fixed obstacles, and spaces with lots of intricate edge work around radiator pipes, hearths, and built-in furniture all take longer than open, regular spaces. This is why a quote based purely on square meterage without seeing the space is often inaccurate — the shape of the room and what's in it matters as much as how big it is.
This is also why we offer free, no-obligation site visits for every project. Seeing the space, understanding the subfloor, and accounting for the specific details of the room is the only way to produce a quote that's genuinely accurate rather than a figure that changes significantly once the fitter arrives.
Contact Floorworks™ for Professional Flooring Solutions

Floor installation prices are shaped by a combination of factors that interact with each other — the floor type, the pattern complexity, the subfloor condition and preparation required, the installation method, the acclimatisation needs of the material, the finishing products applied, and the size and geometry of the space. A quote that looks significantly cheaper than others is almost always either missing one of these factors or using lower-grade materials and fewer finish coats to bring the number down.
At Floorworks, we provide itemised quotes that break down every element of the cost — so you know exactly what you're paying for and can compare like for like. We cover London and the surrounding areas, and every installation comes with our two-year Service Guarantee.
Request a free site visit and quote from Floorworks — we'll come out, assess the space properly, and give you a number you can rely on.


