
Concrete subfloors get most of the attention in flooring conversations, because moisture and levelling compounds sound like the technical part of the job. But a huge proportion of UK homes — particularly period and Victorian properties — have timber subfloors, not concrete. And timber-on-timber preparation brings its own set of problems, quieter and less discussed, but just as capable of undermining a beautiful new floor if they're not properly addressed first.
The tricky thing about timber subfloors is that they often look completely fine. Solid, dry, structurally sound floorboards that have been down for a hundred years and aren't going anywhere. The issue is rarely whether the subfloor is sound — it's whether it's flat, consistent, and properly prepared to receive a new floor bonded or floated directly on top of it. Those are two very different questions, and it's entirely possible for a subfloor to pass the first and fail the second.
Here's what we're actually looking for and correcting, and why each of these issues matters more than it might first appear.
Why Timber-on-Timber Preparation Is Its Own Discipline
A timber subfloor isn't a single flat plane the way a screeded concrete slab aims to be. It's built from individual boards, sheets, or blocks — each with its own slight variation in thickness, level, and condition — sitting on joists that themselves may have settled or moved slightly over the decades. That's a fundamentally different starting point to concrete, and it calls for a fundamentally different set of preparation techniques.
-
Laying New Planks Over Original Floorboards
This is one of the most common situations we deal with, and it comes with a specific, easy-to-miss complication: direction. New plank flooring is almost always laid running in a particular direction relative to the room, and original floorboards underneath run in their own direction too — which is very often the same direction as the new floor is meant to run.
Laying new planks directly parallel to old floorboards underneath, with the joints lining up or running close together, is a genuine structural weak point. Without something breaking up that alignment, movement and flex in the old boards telegraphs straight through to the new floor above, and joints in both layers sitting close together can create a less stable overall surface than intended.
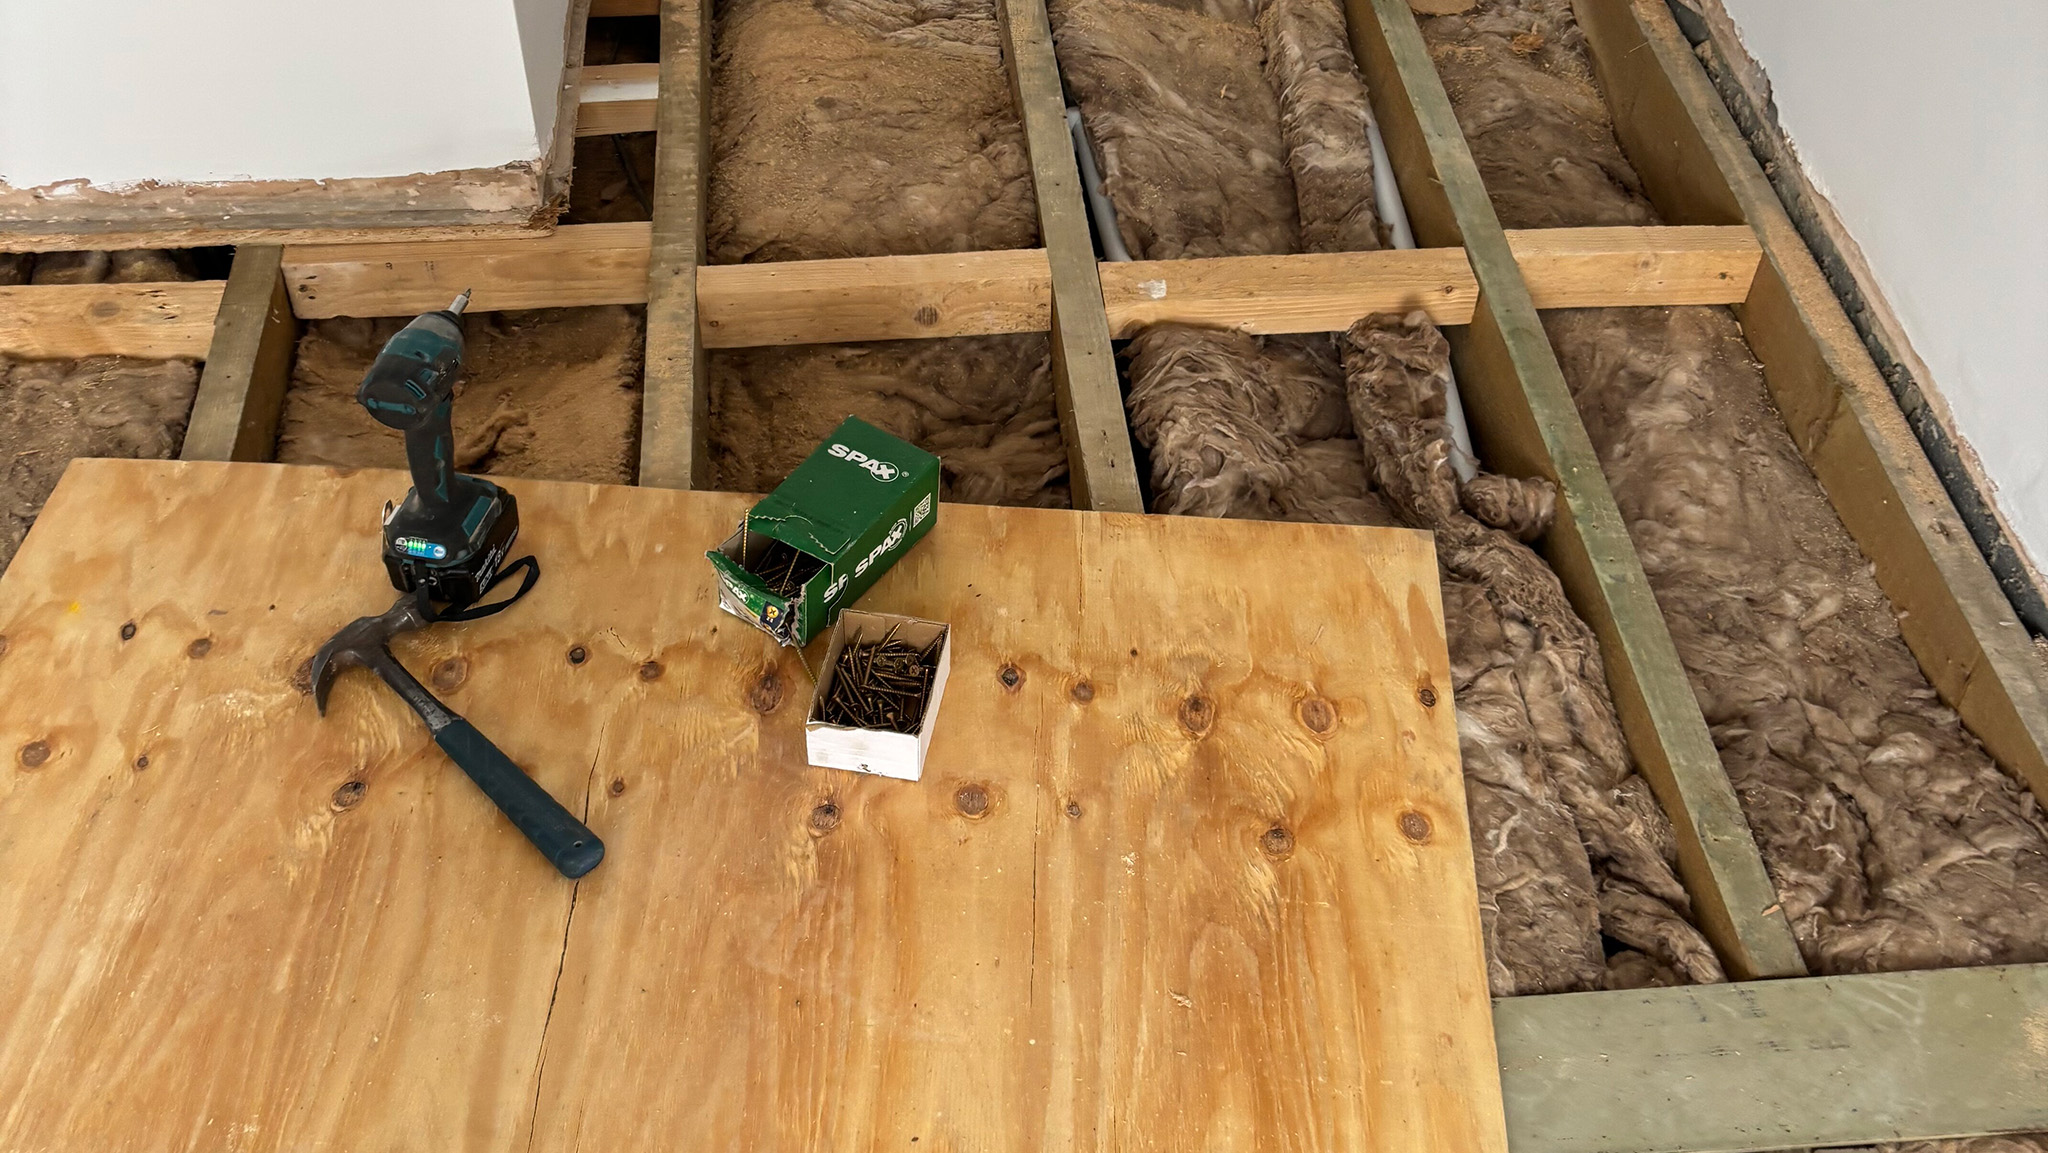
The fix is straightforward: ply down with 6mm or 9mm plywood across the original floorboards before the new floor goes down. This breaks the alignment between old and new, distributes load more evenly across the whole subfloor rather than concentrating it along matching joint lines, and gives the new floor a genuinely consistent surface to sit on regardless of what direction the boards underneath happen to run.
-
Preparing Floorboards for Parquet Blocks
Parquet raises the bar further still. Individual parquet blocks, laid in a herringbone or chevron pattern, need a properly solid and flat surface beneath them — there's no flexibility in a small, rigid block the way there can be in a longer plank, and the geometry of the pattern depends on every block sitting flush against its neighbours.
For this reason, when parquet is going down over original floorboards, we always ply the surface first, typically using 9mm or 12mm plywood depending on the condition and spacing of the boards underneath. This isn't an optional upgrade for a slightly better result — it's a standard, necessary step for parquet over floorboards, because without it, the natural gaps and slight unevenness between old boards will telegraph through the pattern in a way that's both visible and, over time, a genuine risk to how well the blocks stay bonded down.
-
Mixed Timber Materials Beneath the Surface
Older properties, and properties that have had work done in stages over the years, often have a subfloor that isn't one consistent material throughout — a section of original floorboards here, a patch of chipboard repair there, perhaps some old parquet blocks in one room that were never fully removed. Each of these materials has a slightly different thickness and sits at a slightly different level, and where they meet, you get high points and inconsistencies that a single subfloor material wouldn't produce.
The solution again comes back to plywood, but applied differently here — laid across the entire subfloor area, not just patched over the transition points, to level out the variation between materials and give the new floor one genuinely consistent surface rather than a patchwork of slightly different heights. Trying to solve this with localised patching rather than a full ply-down tends to just move the problem rather than resolve it.
When the Problem Goes Deeper: Levelling at Joist Level
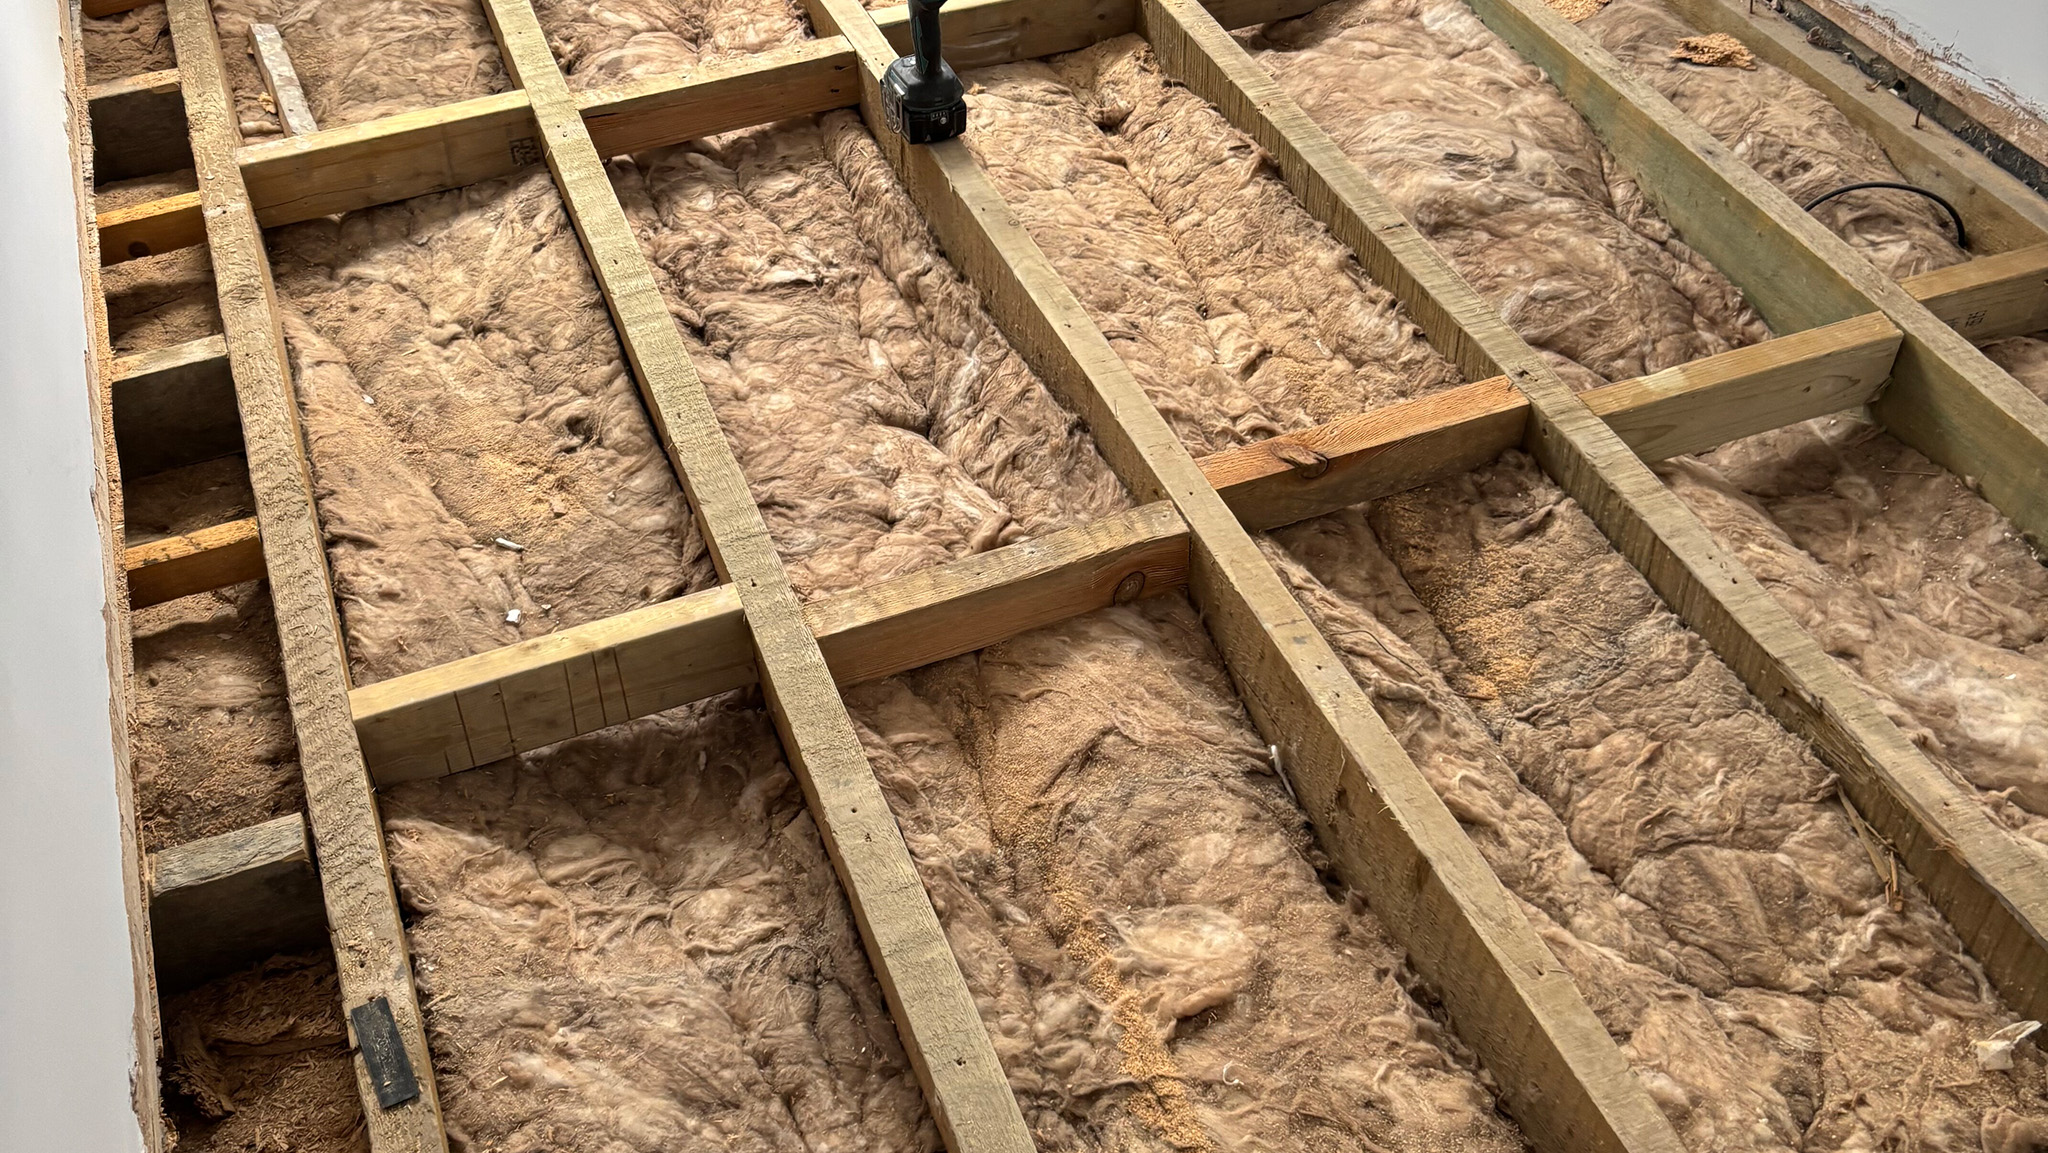
Sometimes the unevenness in a timber subfloor isn't something a layer of plywood on top can properly correct — the underlying structure itself has settled, moved, or was never quite level to begin with, and no amount of surface-level compensation will fully fix that.
In these cases, the proper correction is more involved: removing the entire existing timber subfloor — whether that's floorboards, chipboard, or plywood — and replacing it with new chipboard or plywood laid directly at joist level, with joist add-ons (packers or shims fixed to the joists themselves) used exactly where needed to bring the whole structure into a genuinely level plane before the new subfloor sheet material goes down.
This is a bigger job than a simple ply-down, understandably, but it's the only reliable way to correct a subfloor where the unevenness originates in the structure itself rather than in the surface layer. Trying to solve a joist-level problem with plywood alone tends to produce a floor that still isn't quite right, just with the unevenness slightly disguised rather than actually corrected.
Squeaky Subfloors: Usually a Chipboard Problem
This is one of the most common complaints we hear about existing floors, and in the majority of cases, the cause is specific: chipboard tongue-and-groove sheets that are either old and deteriorating, sitting on uneven support beneath them, or simply lacking sufficient fixings to the joists below. Any of these conditions allows a small amount of movement between the sheet and its support, and that movement is exactly what produces the squeak underfoot.
The fix depends on the extent of the issue. Where the chipboard itself has genuinely deteriorated or the unevenness beneath it is significant, replacement is the right call. Where the material is otherwise sound but simply under-fixed, improving the fixing — adding additional screws through to the joists at the right points — is often enough to eliminate the movement and the squeak that comes with it, without needing to replace the sheet material entirely.
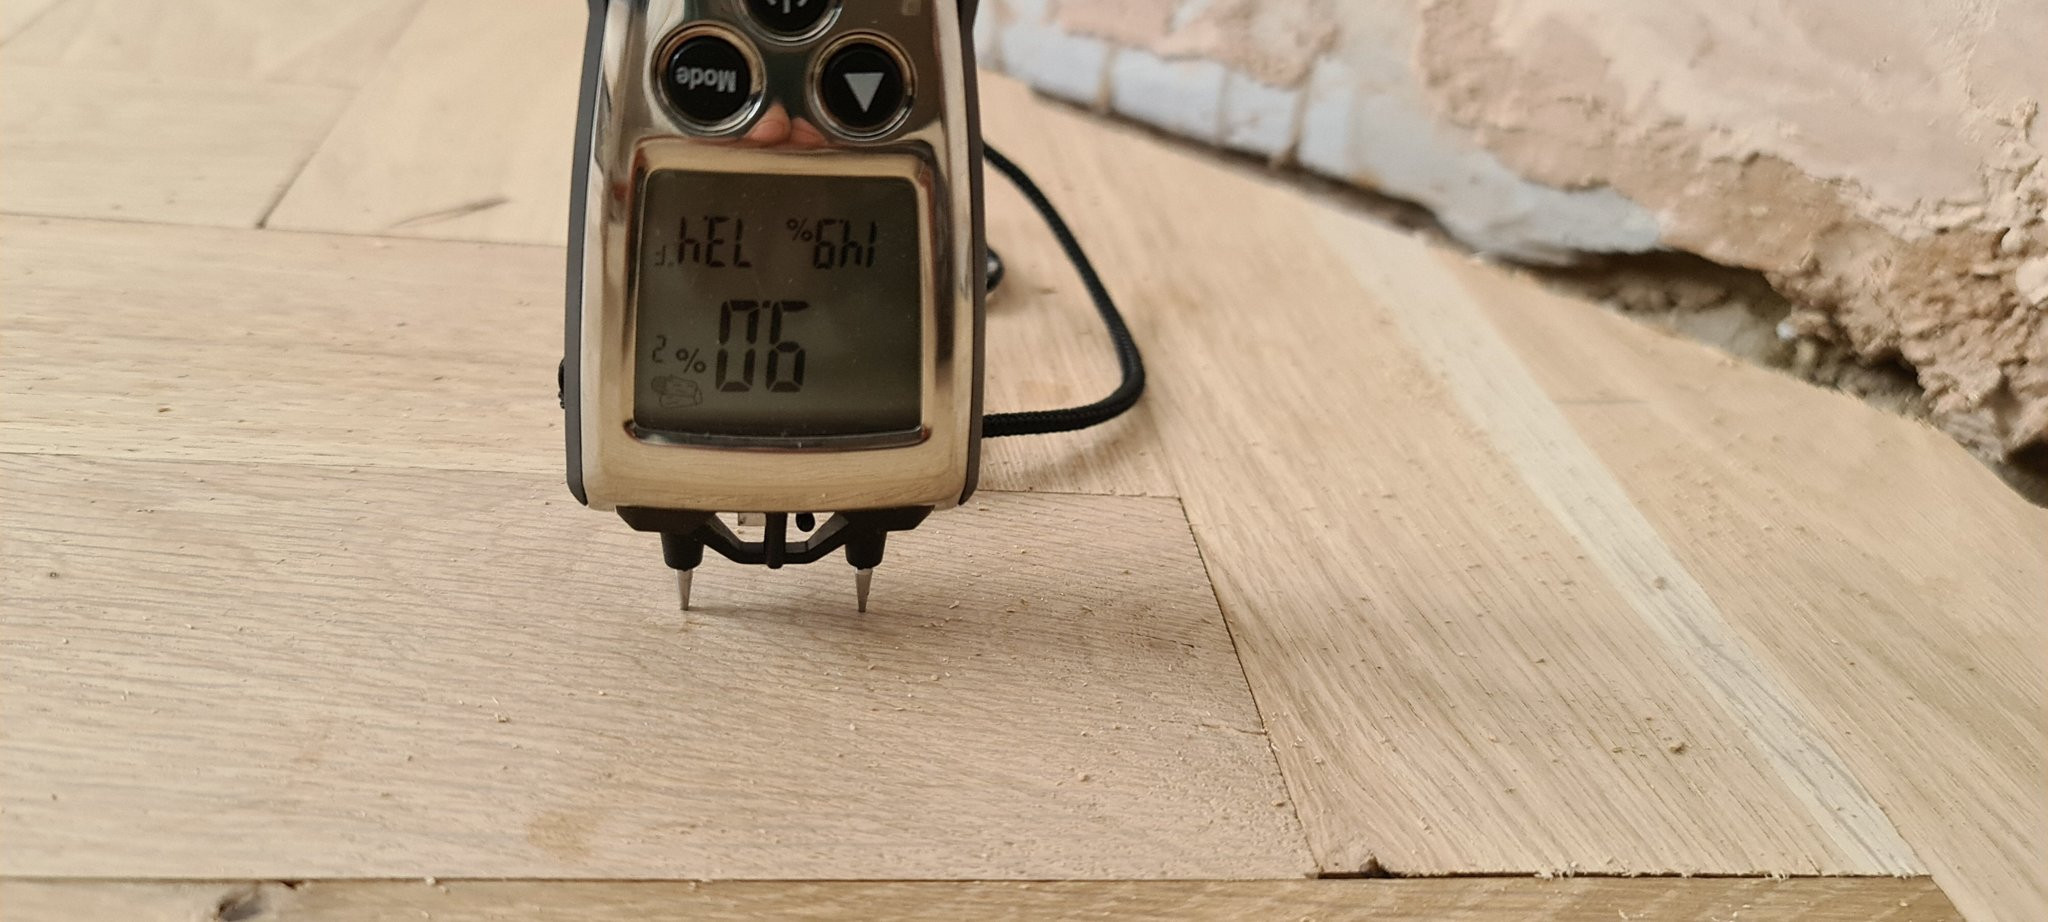
It's worth flagging that squeaking isn't always a subfloor issue in the way people assume — seasonal humidity changes can also cause boards to loosen and squeak, particularly in winter as heating dries the air and timber shrinks slightly. But where the squeak is persistent and not tied to the seasons, chipboard fixing or condition is very often the real explanation.
Why This Matters as Much as Concrete Preparation
It's easy to assume timber subfloors need less attention than concrete simply because there's no moisture testing or levelling compound curing time involved — but the reality is that timber subfloor preparation is just as consequential for how a finished floor performs, particularly for glue-down installations and parquet specifically, where a flat, solid, consistent surface underneath is every bit as essential as it is over concrete. The techniques are different — plywood and mechanical fixing rather than levelling compounds and DPM — but the underlying principle is identical: what's invisible once the new floor is down is exactly what determines whether that floor performs for decades or starts causing problems within a couple of years.
If your project involves timber over concrete rather than timber over timber, our companion piece on concrete subfloor preparation covers the equivalent issues for that scenario — uneven slabs, old adhesive removal, and the role of a liquid damp-proof membrane.
Where This Fits With the Rest of the Project
Subfloor preparation isn't a separate consideration from the flooring choice itself — it directly informs it. If you're deciding which timber species suits a parquet installation, it's worth having the subfloor conversation at the same time, since the condition of what's underneath can influence whether solid or engineered construction is the more sensible specification for your particular room. And whichever floor and finish you land on, our most durable water-based lacquers only perform as well as the subfloor beneath them allows — a beautifully finished floor sitting on an unresolved subfloor problem is only ever a temporary fix.
Contact Floorworks™ today for a free consultation

Get Your Subfloor Properly Assessed
Every one of the issues above is straightforward to identify and correct properly, provided it's caught before the new floor goes down rather than after. Get in touch via Floorworks for a free site visit — we'll assess exactly what's beneath your existing floor, whether that's original floorboards, chipboard, a mix of materials, or a structure that needs correcting at joist level, and tell you honestly what preparation your project actually needs, backed by Floorworks™ Service Guarantee from the first assessment through to the finished floor.


