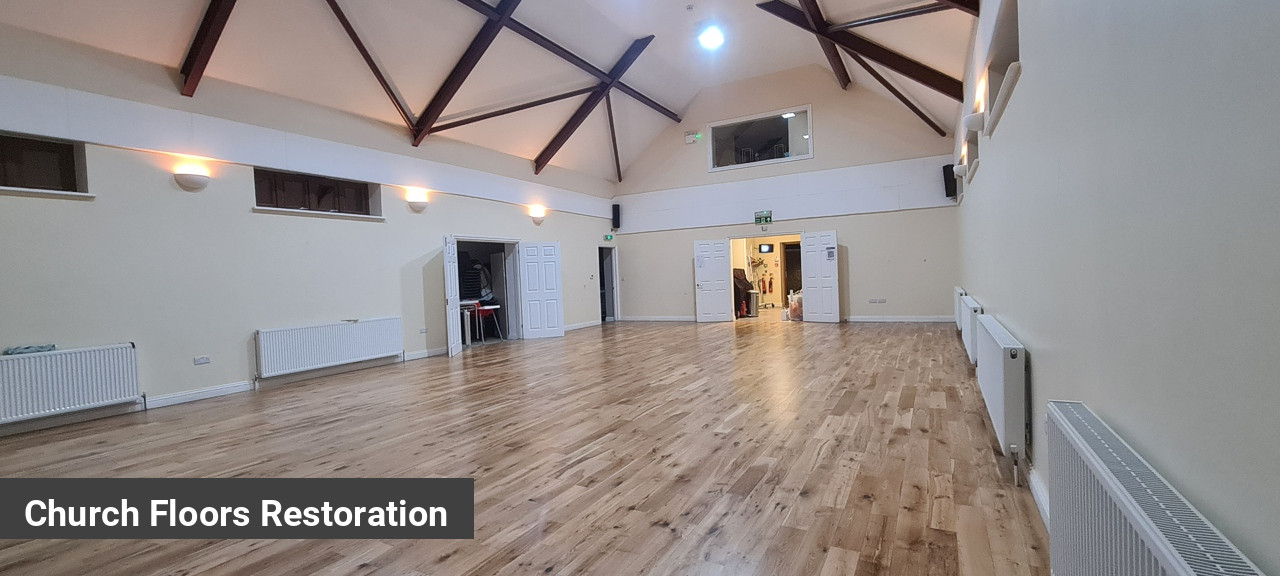
Church halls and communal areas are often the vibrant heart of a community, hosting everything from weekly services and prayer meetings to lively social events and charitable gatherings. This constant activity, while wonderful, takes a toll on the beautiful wooden floors beneath.
If your church's parquet or hardwood floors are starting to show their age, a professional restoration can revive their grandeur and ensure they continue to serve your congregation for generations to come.
This guide will walk you through the essential considerations for undertaking a successful church floor restoration project.
Understanding Your Church's Wooden Floors
Like many public buildings, church halls commonly feature two main types of wooden flooring: parquet flooring and hardwood floors. Parquet, with its intricate patterns of small wooden blocks, offers a classic aesthetic, while hardwood floors, made of longer planks, provide a sense of timeless elegance.
Before any work begins, it is absolutely crucial to consult with a qualified flooring surveyor. They will carefully assess the condition and, critically, the thickness of your existing floors. This step is vital to determine if your floors are robust enough to withstand floor sanding. Attempting to sand floors that are too thin can lead to irreparable damage, a costly mistake for any church.
Enduring Beauty: Selecting the Right Finish
Church floors, given their constant use, demand a finish that is exceptionally durable. Forget standard household varnishes; for areas of heavy foot traffic, a commercial-grade, two-component lacquer is the only way to go. These robust lacquers are specifically engineered to withstand significant wear and tear, providing a long-lasting protective layer. Look for reputable brands such as:
Bona Traffic
Junckers HT700
Loba Fusion 2K
Tover Maxima
The Ideal Number of Coats
For floors that experience heavy use, such as those in a busy church hall, we strongly recommend applying four coats of finish for maximum durability:
A primer coat: This foundational layer prepares the wood, promotes excellent adhesion for subsequent coats, and can enhance the overall appearance of the timber.
Three coats of commercial-grade lacquer: These multiple layers build up a resilient protective barrier that will withstand the rigours of church life.
The Best Sheen for Practicality: Embrace the Matt
While a high-gloss finish might initially seem appealing, for heavily trafficked church floors, a matt sheen is by far the most practical and aesthetically forgiving choice. Matt finishes are superior at disguising minor scratches, scuffs, and everyday wear, maintaining a consistent and clean appearance over time. They also offer a more subtle, natural look that often complements the traditional architecture of a church.
Timing Your Restoration: Planning Around Church Life
Church halls are often bustling hubs of activity, from regular services and Sunday schools to community events, weddings, and funerals. Larger restoration projects, involving significant areas, can take anywhere from a few days to over a week to complete.
Therefore, strategic planning for when to book the works is essential. Ideally, aim for periods when the hall's usage is at its lowest, such as between major events, or during quieter seasons. Communicate openly with your chosen contractor about the church's calendar to find a window that minimises disruption to your congregation and activities.
Choosing Your Flooring Contractor: A Sacred Trust
Selecting the right contractor is paramount for a successful church floor restoration. Here's what to look for:
Proven Experience: Seek contractors with a track record of working on commercial or public building projects, ideally churches or halls. Ask for references and view examples of their past work.
Comprehensive Insurance and Certifications: Ensure they hold all necessary insurance policies and that their team is properly trained and qualified.
Clear & Consistent Communication: The contractor should be able to clearly explain every step of the process, provide a detailed timeline, and be transparent about all costs.
Flexibility and Availability: Always ask if they are willing and able to work over weekends and bank holidays. This flexibility can be crucial for completing the project within tight deadlines and minimising disruption to the church's schedule.
Detailed Written Quotations: Obtain a comprehensive, itemised quote that clearly outlines the scope of work, materials to be used, labour costs, and payment terms.
Addressing Floor Repairs: A Stitch in Time
During the initial site visit, small areas requiring floor refitting, repairs or replacement, such as loose blocks in parquet or damaged planks, can sometimes be overlooked. To prevent unexpected delays or additional costs later, it is vital to be specific about any areas with existing floor damage or missing pieces when the flooring surveyor conducts their assessment. Clearly point these out on the survey to ensure they are accurately factored into the restoration plan and quotation.
The Case for Gap Filling
For heavily used floors and especially for parquet flooring, gap filling is highly recommended. Filling the small gaps between floorboards or parquet blocks offers several significant advantages:
Enhanced Coverage and Finish: It creates a more uniform and seamless surface for the lacquer, resulting in a smoother, more attractive, and consistent finish.
Prolonged Durability: Open gaps can become traps for dirt, dust, and, critically, moisture from regular cleaning. Over time, this moisture ingress will cause the lacquered finish to deteriorate. Gap filling seals these vulnerable areas, protecting both the wood and the lacquer, ensuring a longer-lasting restoration.

Preparing the Space: Clearing the Way
To avoid any additional charges and to ensure the restoration process can proceed as efficiently as possible, please make sure all areas are completely clear of furniture, pews, and any other obstructions before the contractors arrive. The more accessible the floors are, the quicker and more cost-effective the sanding, repair, and finishing work will be. Clear access allows the team to work without hindrance and helps keep your project on schedule.
Final Cost Considerations: Get the Best Value for Your Parish
When evaluating the cost of your church floor restoration, remember that church halls typically encompass very large floor areas. This often works to your advantage! Many contractors offer a more competitive floor sanding cost per square meter for larger projects due to the economies of scale involved. Don't hesitate to inquire about this potential saving.
Always obtain multiple quotes from different reputable contractors. Provide each with the same detailed information about the area size, current floor condition, and your specific requirements (such as gap filling). A thorough, written quotation will enable you to accurately compare offers and ensure you are securing the best possible value for your church's significant investment in its beautiful wooden floors.
By carefully considering these aspects, you can embark on your church or community hall floor restoration project with confidence, ensuring your sacred space continues to serve its community for many years to come.


