
Everything you need to know about LVT & SPC floor installation — subfloor preparation, click vs dryback, underlays, expansion gaps, and what a professional fitting service actually involves.
LVT and SPC flooring have become the go-to choice for a huge range of spaces — kitchens, bathrooms, hallways, open-plan living areas, and commercial environments where a genuinely waterproof, hard-wearing floor is needed without compromising on appearance. The product itself is excellent. The installation, however, is where most problems originate — and most problems are avoidable.
This is the honest truth about LVT and SPC that most product guides skip: these floors are more demanding of the subfloor than almost any other type. Get the preparation right and the floor performs beautifully for a decade or more. Get it wrong and the problems appear within months — bubbling, lifting at the joints, visible ridges, planks that shift underfoot. This guide covers every stage of a professional installation, from the initial survey through to the finishing details, so you know exactly what should happen and what to ask about before any work begins.
If you're still deciding which Xylo LVT or SPC product is right for your space, read our review of Xylo LVT and SPC flooring types first — then come back here for the installation guide.
The Survey — Where Every Good Installation Starts
At Floorworks, nothing starts without a proper site visit. This isn't a formality — it's the stage that determines whether the installation will succeed.
During the survey we assess the subfloor type and condition, take moisture readings, identify any preparation work needed before fitting begins, confirm the right installation method for the product, measure the space accurately, and produce an itemised quote that covers every element of the work. There are no surprises on the day because the questions have already been asked and answered.
We also discuss the furniture in the space at this stage. Before any installation can begin, the room needs to be clear — not partially clear, entirely clear. Every piece of furniture needs to be out of the installation zone before the fitting team arrives. This is worth planning in advance, particularly for larger rooms or spaces with heavy fitted furniture.
Free samples of the Xylo LVT range are available through our quote and site visit form — so you can see and feel the product in your own space before committing to a colour or format.
Understanding the Xylo LVT Range and Installation Format
The Xylo LVT products we supply and install at Floorworks — Pimlico and Holland Park — are both dryback (glue-down) products. There is no floating or click option in this range. Every Xylo LVT installation is a glue-down installation, which is worth understanding upfront because it shapes every preparation and fitting decision that follows.
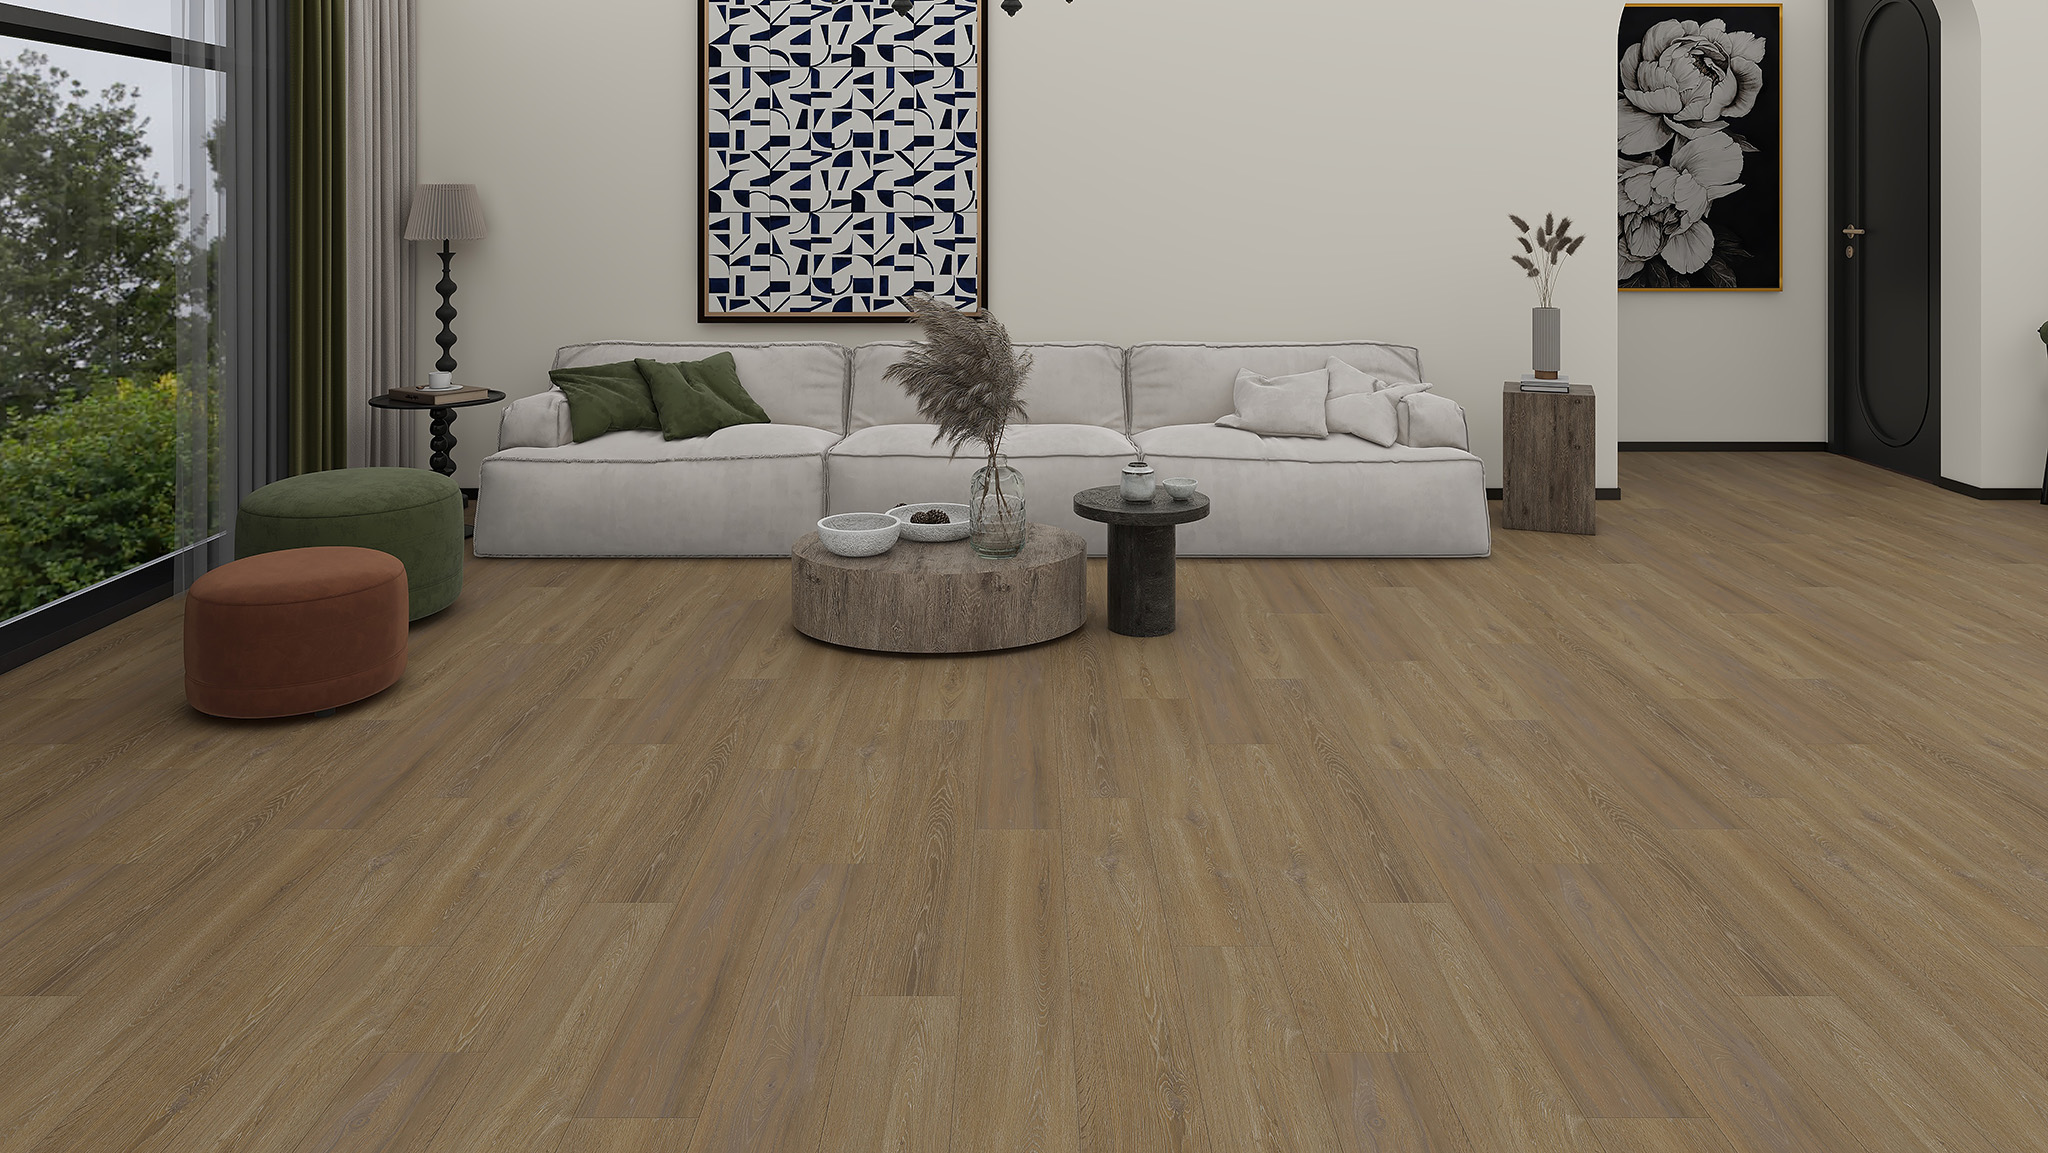
Xylo Pimlico (180x3mm plank, dryback) — a straight-lay plank glued directly to the prepared subfloor. Available in twelve colourways from pale Ocean Dunes through warm mid-tones to the deeper Heritage, Grayhawk, and Emerald Bay.
Xylo Holland Park (122x610x3mm herringbone, dryback) — the herringbone companion to Pimlico, using the same twelve colourways, cut to herringbone proportions and laid in the classic interlocking pattern.
Both products are 3mm thick flexible LVT, bonded permanently to the prepared surface with no underlay between the floor and the subfloor. The result is the most stable floor type you can have — zero movement underfoot, no flex at the joints — but it demands the most thorough subfloor preparation of any LVT format.
Subfloor Preparation — The Most Important Stage
If there's one thing to take from this guide, it's this: the subfloor is everything for LVT and SPC. These are thin products — 3mm for the Xylo dryback range, 5–6.5mm for SPC click. That thinness is part of what makes them practical. It also means there is nowhere for subfloor imperfections to hide.
Concrete Subfloors
Concrete is the most common subfloor in London flats, ground floor rooms, and new builds. Before any Xylo LVT or SPC goes down over concrete, three things need to be confirmed:
Flatness. Even when a concrete subfloor looks flat, it almost never is flat enough for dryback LVT without smoothing compound. For dryback products, a perfectly smooth, flat surface is not optional — it's required. Smoothing compound fills micro-imperfections and creates the consistent surface the adhesive needs to bond to and the floor needs to perform on. For SPC click, the tolerance is slightly more forgiving because the rigid core bridges very minor unevenness — but significant dips and ridges still need to be addressed.
Cleanliness. Old adhesive residues, dust, loose material, and any contamination affect how well the new adhesive bonds. The subfloor has to be mechanically clean before any preparation products go down.
Timber Subfloors
Timber subfloors — typically original floorboards in period London properties — need a different approach. Floorboards flex, they have gaps between them, and their uneven surface is completely unsuitable as a direct base for LVT or SPC.
The solution is to overlay the existing floorboards with flooring-grade plywood — a minimum of 9mm for most installations, 12mm where additional stability is needed. The plywood is fixed firmly to the boards beneath, creating a flat, stable, continuous surface. The joints between plywood sheets are feathered with smoothing compound to ensure no ridge transfers through to the floor above.
This is not an optional step. LVT or SPC laid directly over floorboards will show every board edge and every gap within a very short time.
Acclimatisation
LVT and SPC don't require acclimatisation in the same way timber does — they don't need to reach moisture equilibrium with the room. But temperature matters.
Both the Xylo dryback LVT and SPC click products should be stored in the installation room, or at the installation temperature, for a minimum of 48 hours before fitting begins. This allows the material to adjust to the ambient temperature, which affects the dimensions of the planks slightly. Installing cold planks into a warm room can result in gaps or buckling as the material adjusts after installation — a simple step to avoid a problem that's entirely preventable.
Installing Dryback LVT — Xylo Pimlico and Holland Park
Setting Out
For Pimlico straight-lay plank, the layout is planned from one wall and worked across the room. The starting wall is typically the most prominent — usually opposite the main door — so the first full row is what you see when you enter the space.
For Holland Park herringbone, the layout starts from a carefully calculated centre point that accounts for the room's geometry and ensures the pattern reads correctly from the main viewpoint. Getting this starting point wrong produces a herringbone that looks slightly off — the geometry is unbalanced in a way the eye picks up immediately, even if it can't immediately explain why. Setting out for herringbone takes more time than straight plank, and that time is essential rather than optional.
Adhesive Application
A high-quality vinyl adhesive is applied to the prepared subfloor using a notched trowel — the notch size determines how much adhesive is deposited, and getting this right is important. Too little and the bond is insufficient; too much and excess adhesive can squeeze up through the joints between planks.
Pressure-sensitive vinyl adhesives have a working window — a period after application during which the planks need to be laid and pressed into the adhesive before the bond starts to set. Working efficiently within that window, without rushing the placement and alignment of each plank, is the skill that produces a neat, tight result. For Holland Park herringbone, the individual short planks require more precise positioning than full-length straight planks — the geometric pattern makes any misalignment immediately visible.
Rolling
Once the planks are laid, a heavy roller is used across the entire floor to ensure maximum contact between the planks and the adhesive. This step is what guarantees the bond — pressing the flexible LVT fully into the adhesive bed eliminates any air pockets and ensures consistent adhesion across the whole surface.
Curing
The adhesive needs to cure according to the manufacturer's recommendations before the floor takes foot traffic. We confirm the curing time at handover and advise on when the floor can be used normally.
Completing the Dryback Installation — Rolling, Curing, and Inspection
Once all planks are laid and pressed into the adhesive, a heavy roller is run across the entire floor in both directions. This is one of the steps that separates a professional result from a DIY one — the roller ensures maximum contact between each plank and the adhesive bed, eliminating air pockets and guaranteeing a consistent bond across the whole surface. Without it, sections of the floor can feel hollow underfoot and may eventually lift.
After rolling, the adhesive needs to cure according to the manufacturer's recommendations before the floor takes foot traffic. We confirm the exact curing time at handover — typically 24 hours before light use, and longer before heavy furniture is moved back in. Moving furniture back too early is one of the most common causes of dents and surface damage in the first week.
Once fully cured, the floor is inspected before we sign off — checking for any sections that sound hollow when tapped, any visible gaps at joints, and the finish at all edges and thresholds. Any issues identified at this stage are addressed before handover.
Underfloor Heating Compatibility
Both dryback LVT and SPC click products from the Xylo range are compatible with underfloor heating systems — but there are parameters that must be respected.
The maximum surface temperature of the floor should not exceed 27–29°C. Beyond this, the material can warp or develop expansion problems that the floor wasn't designed to accommodate. Before installing Xylo LVT or SPC over underfloor heating, the heating should be run through a commissioning cycle — gradually ramped up and then brought back down — before the floor is installed. This allows the subfloor to adjust and reach its normal operating temperature range before the new floor is fixed on top.
For underfloor heating systems, the manufacturer's specific guidelines for the product being installed should always be confirmed at the survey stage. We check this as a standard part of our site assessment.
Doors, Profiles, and Finishing Details
These are the details that determine whether an installation looks professionally complete or leaves visible traces of the process.
Door trimming. LVT and SPC add height to the floor — even at 3mm, doors that previously cleared the existing floor may no longer clear the new one. The bottom of door frames and architraves needs to be undercut to allow the new floor to slide beneath it cleanly. The alternative — a visible line where the floor butts against the frame — is the mark of an installation that wasn't finished properly. At Floorworks, door trimming is included as standard in our floor installation service.
Threshold strips and transition profiles. Where the new LVT meets an adjacent floor type — a different room, a tiled kitchen, a carpeted area — a threshold strip covers the junction and protects the edge of the floating floor. These need to be colour-matched to the floor and correctly specified for the height difference between the two surfaces. We supply and fit matching flooring accessories for all the Xylo products we install.
Skirting boards and beadings. The expansion gap at the perimeter needs to be covered. Where new skirting boards are being fitted, these cover the gap and give a clean finish. Where existing skirting is being retained, a matching beading or scotia fitted at the base covers the gap without the disruption of removing and refitting the skirting.
Maintenance — What Keeps the Floor Looking Good
LVT and SPC are among the lowest-maintenance floors available, but a few habits make a significant difference over time.
Use the right cleaning products. pH-neutral cleaners are what the wear layer needs. Harsh chemicals, bleach, and abrasive cleaners damage the wear layer gradually, dulling the surface and reducing its resistance to scratching. A damp mop with the right product is all that's needed for routine cleaning.
Protect against furniture. Chair legs and furniture feet can dent and scratch the wear layer over time. Felt pads under furniture feet are the simple, effective solution.
Avoid rubber-backed mats. Some rubber-backed mats stain LVT and SPC surfaces permanently. Use mats with vinyl or natural backing instead.
Manage direct sunlight. Direct sunlight concentrated through glass — door handles, for example, can act as a lens — can damage the surface of LVT and SPC. UV-filtering film on south-facing windows addresses this in rooms where it's a concern.
The Floorworks Service Guarantee
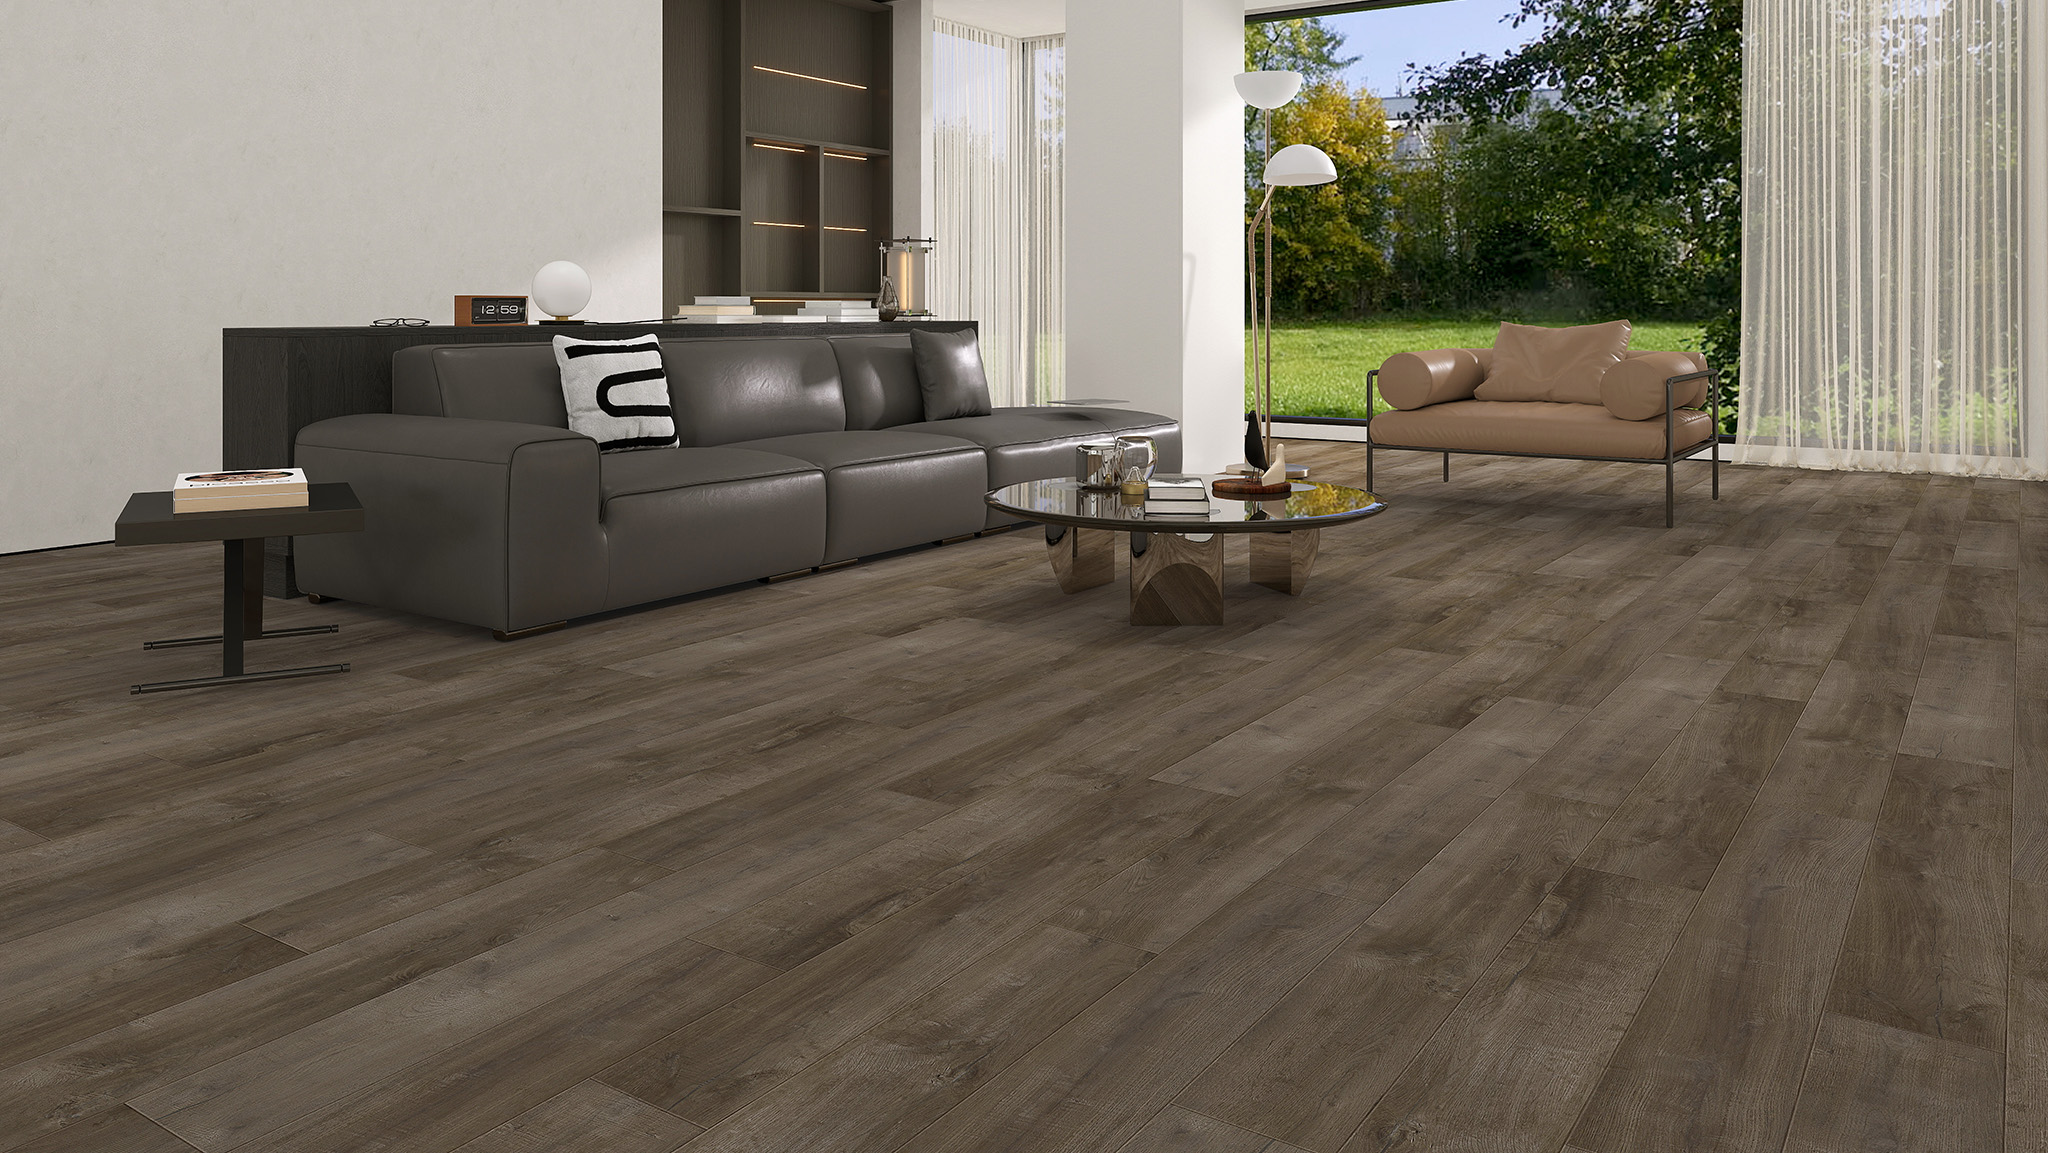
Every Xylo LVT and SPC installation we carry out comes with the Floorworks Service Guarantee — a two-year guarantee covering both the labour and the materials used in the installation. It covers the installation method, the subfloor preparation work, and the fitting of all accessories and profiles.
The guarantee exists because the process that precedes it is thorough — moisture testing at survey and again before work begins, the correct subfloor preparation sequence applied in full, the right installation method selected for the product and the space, and a final inspection before handover. It's the documentation that confirms the work was done properly.
Contact Floorworks™ for a free professional consultation

LVT and SPC installation is less forgiving of shortcuts than almost any other floor type — and that's the fact everything else in this guide flows from. The subfloor has to be right, the installation method has to be right for the product, the expansion gaps have to be there, and the finishing details have to be done properly. Every step matters because the floor is thin and it shows everything underneath it.
At Floorworks, our LVT and SPC installation service starts with an obligation-free site survey that covers every detail — subfloor assessment, moisture testing, product selection, method recommendation, and an itemised quote. Our fitters are experienced in both floating and glue-down installations, including herringbone formats, and every installation comes with our two-year Service Guarantee.
Browse the full Xylo LVT and SPC range or get in touch to book a free site visit — we cover London and the surrounding areas.


