
Engineered wood floor restoration is possible — but only when it's done right. Here are the best practices for sanding, finishing, and protecting an engineered floor that lasts.
Engineered wood flooring occupies an interesting position in the market. It looks and feels like solid timber, costs less, performs better in environments where humidity and temperature fluctuate, and is genuinely beautiful when it's in good condition. But when it starts to show wear — scratches, a dull finish, scuffs that don't clean off — the question of what to do next is more nuanced than it is for solid wood.
The answer, in most cases, is restoration. But engineered floor restoration is a discipline that requires more care, more precision, and more knowledge of what you're working with than restoring a solid floor. Get it right and the floor comes back looking extraordinary, with years of life ahead of it. Get it wrong and you've shortened the floor's remaining lifespan unnecessarily — possibly to the point where the next restoration isn't possible.
This guide covers exactly what needs to happen at every stage of the process — and before you read about the restoration itself, if you haven't yet confirmed whether your floor can be sanded at all, read our article on Can Engineered Wood Flooring Be Sanded & Resealed? first. It covers the thickness thresholds and sanding history checks that determine viability before any work begins.
Why Engineered Floor Restoration Requires a Different Approach
The fundamental difference between restoring an engineered floor and restoring a solid timber floor is what's available to work with.
Solid wood is the same species all the way through the board. Sand away the damaged surface and there's more of the same material underneath — the board has depth to spare, and the process can be approached with some margin for error.
Engineered wood has a real hardwood surface layer — typically 3mm to 4mm, though some premium products go to 6mm — bonded to a stable plywood or HDF core. That surface layer is the only part that can be sanded. Once it's gone, the core beneath it is exposed and the floor is finished. This means every decision in the restoration process has to be made with the protection of the remaining top layer in mind — not just the result today, but the floor's ability to be restored again in ten years.
This is why sanding engineered floors should always be approached with an exceptional level of care, because only the top layer of the floor is sandable and it has limited sanding capacity. At Floorworks, our approach to engineered floor restoration is built around one principle: remove the minimum amount of material needed to achieve the result. Not the fastest route. The most careful one.
Start With an Honest Assessment
Before any sanding machine is switched on, the floor needs to be properly assessed. This isn't a box-ticking exercise — it's the stage that determines what's possible and what isn't.
- Check the remaining top layer thickness. The minimum we work to at Floorworks is a residual hardwood layer of 2.5mm after sanding. We measure this on site — at doorway thresholds and around the perimeter where the board profile is accessible. A floor with 3.5mm remaining before sanding has enough to work with. One with 2.8mm may not, depending on the condition of the surface and how much needs to be removed to get below the damage.
- Find out whether the floor has been sanded before. A 4mm top layer that's never been touched is in a very different position from the same floor after a previous sanding. If the floor has been sanded once already, the remaining thickness needs to be confirmed before any further work is agreed. At Floorworks, over many years of experience in sanding engineered wood floorings we are able to distinguish between those that can be sanded and those that have come to the end of their sanding potential.
- Assess the condition of the surface. Deep scratches that have penetrated below the finish and into the timber, areas of localised heavy wear, water staining, and surface damage all need to be visible and mappable before work begins — so the sanding approach can be planned to address them within the constraints of the remaining top layer.
If the assessment reveals insufficient top layer for sanding, we'll say so clearly — and discuss what the realistic alternatives are rather than proceeding with work that won't produce a good result or will leave the floor without any future restoration potential.
Choose the Right Sanding Approach
The sanding approach for an engineered floor is fundamentally different from a solid timber restoration — and the grit sequence is where that difference is most practically felt.
Start with a medium grit, not a coarse one. On a solid floor that needs significant levelling or has deep scratches, starting with a coarse grit makes sense — the material to work through is there. On an engineered floor, starting coarse removes material faster than necessary and sacrifices top layer depth that could support a future sanding. We start with a medium grit that removes the existing finish and surface damage without going deeper than the job requires.
Use the right equipment. At Floorworks, we use dust-minimising drum sanders and rotary buffers throughout our engineered floor sanding service. The dust extraction isn't just about cleanliness — it protects the freshly sanded surface from contamination before the finish goes on, and it means we're working in conditions where the results of each pass can be clearly assessed rather than viewed through a haze of airborne particles.
Work progressively through finer grits. Sanding the floors with fine grids (80–120 gr) and a good rotary buff to the new oak timber surface with high grid buffing screens is the most important stage in the preparation of the wood flooring for finishing. The final stages are what prepare the surface to take a finish uniformly — a surface that isn't properly refined at this stage absorbs lacquer unevenly, and the result shows clearly under raking light. For engineered floors specifically, this stage is where the quality of the finish is determined.
Recognise when the floor is level. In the case of engineered wood flooring, the level of the floor is usually good, due to the "click" or "tongue-and-groove" locking between the planks. Unlike original floorboards where decades of movement can create significant variation between boards, engineered floors installed with click or T&G systems stay level well. This means the sanding is primarily about removing the old finish and surface damage — not correcting unevenness — which is another reason why a medium starting grit is usually appropriate rather than a coarse one.
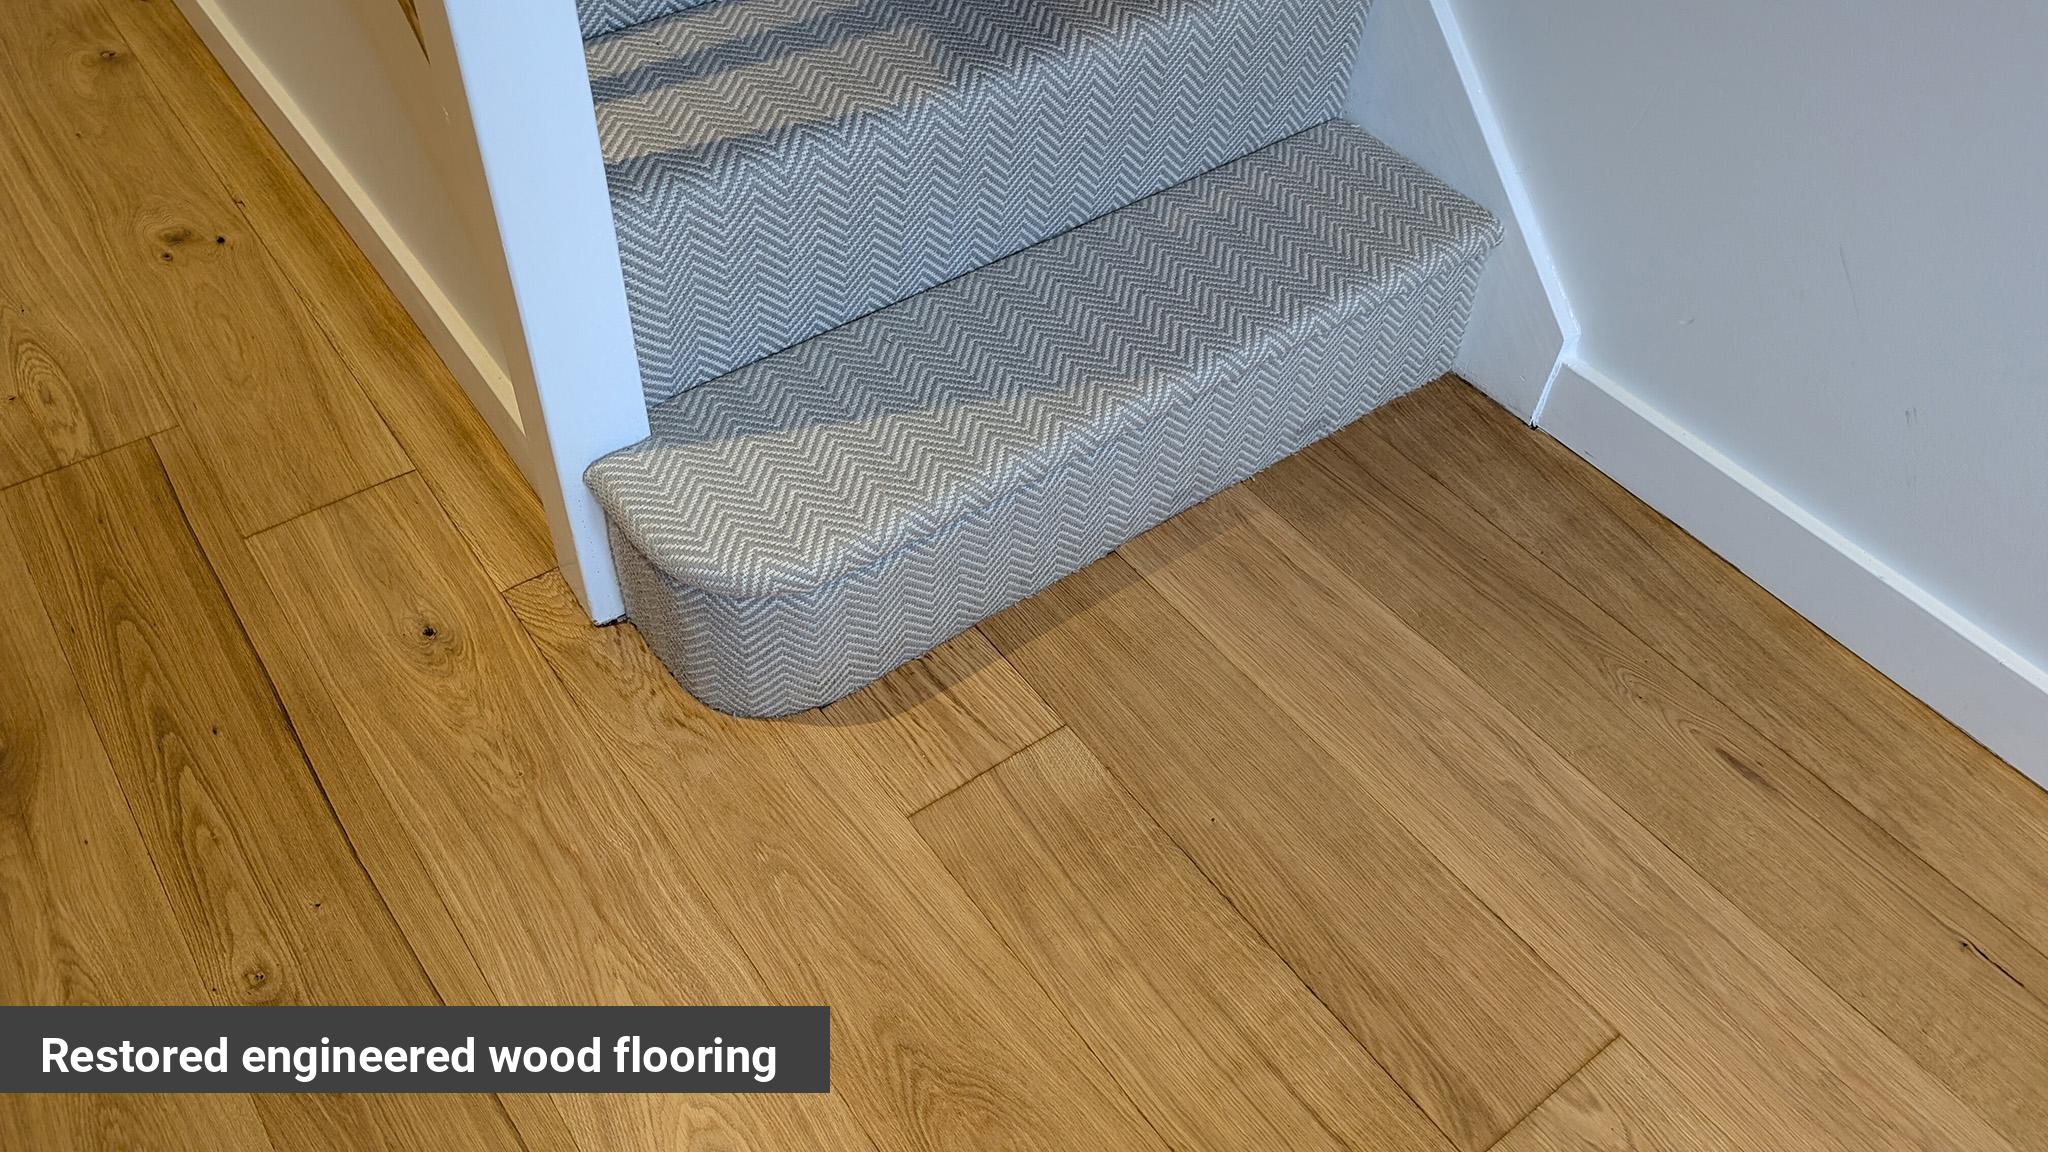
Think Carefully About Colour and Staining
Staining is one of the most requested elements of an engineered floor restoration — and one of the most important things to assess honestly before committing to.
Staining requires the existing finish to be completely sanded off to expose the raw wood for the stain to penetrate evenly, therefore some limitations will apply. Minimum 3mm top layer: Generally, a wear layer of at least 3mm is required.
The reason for this is straightforward. Stain works by penetrating the grain of the timber and depositing colour into the wood's cellular structure. For that to produce a consistent result across the whole floor, the surface needs to be even and at a consistent depth. A top layer that's been through years of uneven wear — heavier in doorways and high-traffic zones, lighter under furniture — won't absorb stain uniformly after sanding. The colour deposits differently in different areas, producing a patchy result.
This is why we sometimes turn down staining requests on engineered floors — not because we can't do it, but because the specific floor in question won't produce the consistent result the client is expecting. A darker stain applied to an uneven surface looks worse than a clear finish on the same floor.
Where staining is viable — on floors with 4mm+ top layers in their first sanding cycle — we provide colour samples on the sanded surface before committing to an application. A number of colour samples in whitewash and clear invisible/raw finish were provided on a sanded surface for the client to review and approve, prior to application and finishing the floors. This is the only honest way to confirm a colour choice — samples on the actual floor, in the actual light conditions of the room, not on a paint chart held up to a window.
Popular colour options on engineered oak include:
- Clear/natural — letting the oak speak for itself under a clear lacquer or oil. Often the most striking result on high-quality engineered oak where the grain and figure of the wood are worth showing.
- Whitewash/white primer — a lighter, Scandinavian-influenced finish that opens up smaller rooms. Each coat of white-tinted primer increases the whitewash effect of the finish and a maximum of 3 coats are applied.
- Grey wash — cool grey tones that suit contemporary open-plan interiors and work particularly well on floors with a fine, even grain.
- Invisible/raw finish — the most natural-looking of all the options. Bona Mega Natural, used on a Richmond project, produces the appearance of completely unfinished timber while providing genuine protection. The floor looks as though nothing has been applied — but it's sealed and protected.
Choose the Right Finish for the Long Term
The finish applied after sanding is what protects the restored floor going forward — and the choice has a direct impact on how long that restoration lasts and what the maintenance looks like in the years between now and the next sanding.
- For high-traffic areas and busy households: Bona Traffic HD is our default recommendation — a two-component water-based polyurethane that produces an exceptionally hard, durable film. It resists daily wear, doesn't yellow over time, and can take light foot traffic within 12 hours of the final coat. For an engineered floor where the top layer thickness makes sanding cycles a finite resource, a finish that lasts as long as possible between restorations is worth specifying correctly.
- For commercial environments and very high-traffic spaces: Loba 2K Fusion or Junckers HT700 — both professional 2K systems with exceptional abrasion and chemical resistance. If the engineered floor is in a commercial setting where daily traffic and aggressive cleaning products are a factor, these products provide a level of durability that single-component lacquers can't match. See our guide on the best floor finishes for schools and sports halls for a detailed breakdown of how these products perform in the most demanding environments.
- For a more natural appearance: Osmo Polyx Hardwax-Oil penetrates the timber rather than coating it, producing a softer, lower-sheen finish with better grain visibility than lacquer. The practical advantage for engineered floors specifically is spot-repairability — a worn or damaged area can be re-oiled without refinishing the whole floor. For a floor where the remaining sanding cycles are limited, extending the life of the finish through spot repairs rather than full restorations has real value.
- The number of coats matters. Re-varnishing with multiple coats of strong and durable lacquers or re-oiling with hard wax oils ensures outstanding appearance and ultimate timber protection. For residential engineered floors, primer plus two coats of lacquer is the minimum. Primer plus three coats is what we recommend for high-traffic spaces — the additional film build extends the lifespan of the finish significantly and is the difference between a restoration that needs revisiting in five years and one that holds for eight to ten.
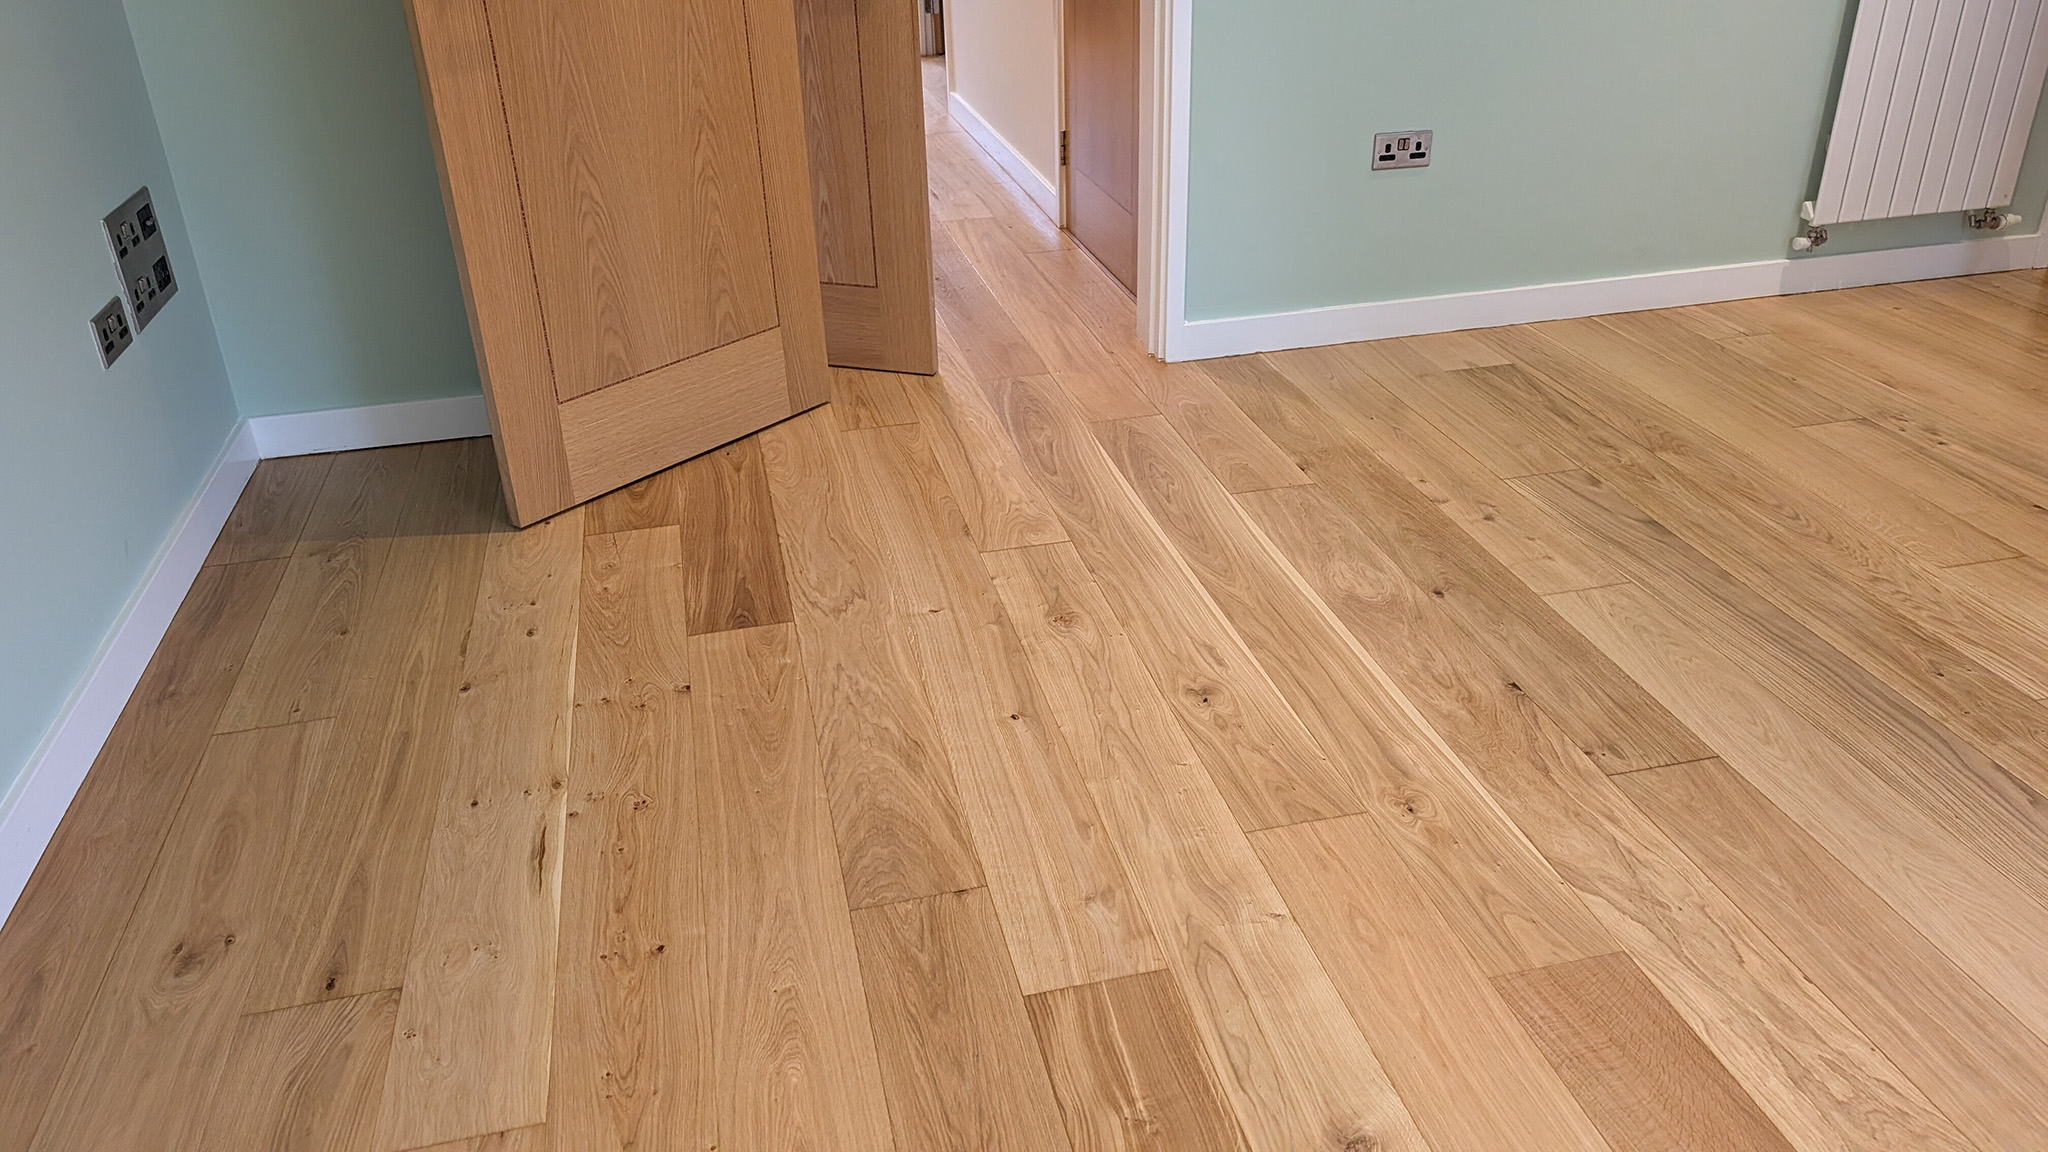
Protect the Remaining Top Layer at Every Step
This is the principle that runs through everything in an engineered floor restoration — but it deserves its own section because it's the thing most often not discussed explicitly.
Every sanding removes material. On a solid floor, that's manageable across a long lifespan. On an engineered floor with a 3mm or 4mm top layer, it's a finite resource that has to be managed deliberately.
At Floorworks, this means:
- Starting with a medium grit — not the fastest option, but the one that removes the minimum material needed to achieve the result.
- Never sanding an engineered floor unnecessarily. If the finish is still in reasonable condition and only one area is visibly worn, a maintenance recoat — lightly abrading the existing finish and applying a fresh topcoat — is far preferable to a full sand. Full sanding is reserved for when the finish has genuinely failed and can't be recovered with a recoat.
- Discussing future sanding potential at handover. At the end of every engineered floor restoration, we tell the client where they stand — how much top layer remains, whether a future sanding is possible, and what they can do between now and then to extend the life of the restored finish as long as possible.
Maintenance After Restoration — What Makes the Finish Last
A restoration done properly buys years of excellent floor condition. How those years are managed determines whether the next restoration happens in five years or ten.
- Use the right cleaning products. pH-neutral cleaners specifically formulated for sealed timber or oiled floors are what the finish needs. Soaps, wax-based products, and generic household cleaners leave residue that builds up over time and dulls the surface. For lacquered engineered floors, a damp mop with an approved neutral cleaner is all that's needed for routine maintenance.
- Address spills immediately. Even the best lacquer isn't impervious to prolonged contact with moisture. A spill blotted up immediately causes no damage. The same spill left to sit overnight is a different conversation — particularly with acidic liquids like wine, coffee, or fruit juice.
- Avoid steam mops entirely. Steam forces moisture into the joints between boards and, over time, can cause swelling and damage that no finish prevents. For an engineered floor where moisture sensitivity is already a design consideration, a steam mop is the single fastest way to shorten the floor's lifespan.
- Protect furniture contact points. Chair legs and furniture feet scratch lacquered surfaces over time. Felt pads under every piece of furniture that moves regularly — dining chairs particularly — make a significant difference to how long the finish holds in those zones.
- Schedule a maintenance recoat before the finish fails. A screen-and-recoat — lightly abrading the existing lacquer and applying a fresh topcoat without full sanding — every three to four years in a busy household keeps the floor looking fresh without removing any top layer material. It's the intervention that extends the time between full restorations and makes the most of the finite sanding potential every engineered floor has.
Contact Floorworks™ for Professional Flooring Solutions

Summary
Restoring an engineered wood floor is entirely achievable — and when it's done properly, the result is a floor that looks close to new, has its protective finish renewed, and has years of life still ahead of it. The discipline required is in every stage: an honest assessment of the remaining top layer before work begins, a conservative sanding approach that removes the minimum material needed, careful colour and finish decisions based on what the specific floor can support, the right product applied in the right number of coats, and a maintenance routine after handover that protects the restored finish for as long as possible.
At Floorworks, our engineered floor sanding and restoration service is built around these principles. We carry out a free site assessment before agreeing to any work, measure the remaining top layer on site, provide colour samples on the sanded surface before any stain is applied, and use dust-minimising equipment throughout. Every project comes with honest advice about what the floor can support — and what to do to make the most of it going forward.
Book a free site visit to find out what your engineered floor is capable of — and get a clear picture of what restoration can realistically achieve before any commitment is made.


