
Measuring a property for a full wood floor restoration is the critical first step toward transforming worn, lackluster timber into a stunning feature. It's tempting to eyeball the space or rely on old blueprints, but a professional floor sanding service needs exact numbers to provide an accurate quote. Precise measurements determine everything from the volume of abrasives and sealants needed to the labour hours required for intricate edging — so getting it right from the start avoids financial surprises or material shortages mid-project.
This isn't a quick chore — treat it as a methodical survey. With a tape measure, a digital laser measure, a notepad, and a pencil, any homeowner can map out their flooring layout like an experienced contractor. Here's how to do it properly, step by step.
Step 1: Section the Property Room by Room
Trying to calculate an entire home's footprint all at once invites error. The most reliable approach is to isolate the property room by room, treating each zone — including easily forgotten spaces like hallways, walk-in closets, and recessed entryways — as its own mini project.
Walk through the property and create a master list, labelling each area clearly: "Master Bedroom," "Entrance Hallway," "Dining Alcove," and so on. Segmenting the property this way eliminates the risk of doubling back or missing a section entirely, and it also helps a wood floor sanding specialist see exactly where the heavy-traffic areas are and how the layout transitions from one zone to the next.
Step 2: Measure Standard Square and Rectangular Rooms
For traditional square or rectangular spaces, the maths is straightforward. A digital laser measure is worth using here, since it removes tape sag over long distances and gives a perfectly straight reading from wall to wall.
To find the baseline area, measure the maximum length and maximum width of the room — from the walls themselves, not the skirting boards, to make sure the entire floor surface is accounted for. Multiply length by width to get the area. For example, a lounge measuring six meters by four meters gives an area of twenty-four square meters. This figure becomes the baseline for that room on your master list.
One thing worth knowing at this stage: floor sanding always works best when the entire surface is sanded, not just the areas that look worn or damaged. Spot-sanding might seem like the quicker fix, but it almost never produces a seamless result. Different areas of a floor wear at different rates, which means they absorb stain and sealant differently too — so treating only the damaged patches typically leaves behind visible colour mismatches, uneven sheen, and obvious "repair" zones once the light hits the floor.
Sanding the whole continuous area levels out old scratches, discolouration, and wear patterns together, giving the stain and finish one uniform surface to sit on. That's what produces a smooth, consistent result across the entire room, rather than a floor that looks like it's had a patch job. If part of your floor needs attention, the whole connected area — not just the worn section — needs to be measured and included in the sanding.
If some boards are beyond saving and need replacing before the sanding begins, that repair work should always be carried out first — take a look at our wood floor repair service for more on what that involves and when it's needed.
Step 3: Break-Down Irregular and L-Shaped Rooms
Few homes are made entirely of perfect rectangles. Period properties, extensions, and architectural features often create L-shaped layouts, bay windows, and deep alcoves. The trick with an irregular room is geometric deconstruction — visualise the space as a collection of smaller, imaginary rectangles.
For an L-shaped open-plan kitchen and dining area, draw a conceptual line across the floor to split it into two zones. Measure the length and width of each rectangle separately, calculate their areas individually, then add the two totals together for the true area of the whole room. Apply the same logic to bay windows — treat the recess as its own micro-rectangle, calculate its footprint, and add it to the main room's total. This avoids underestimating floor space, which commonly happens when people try to average out uneven walls.
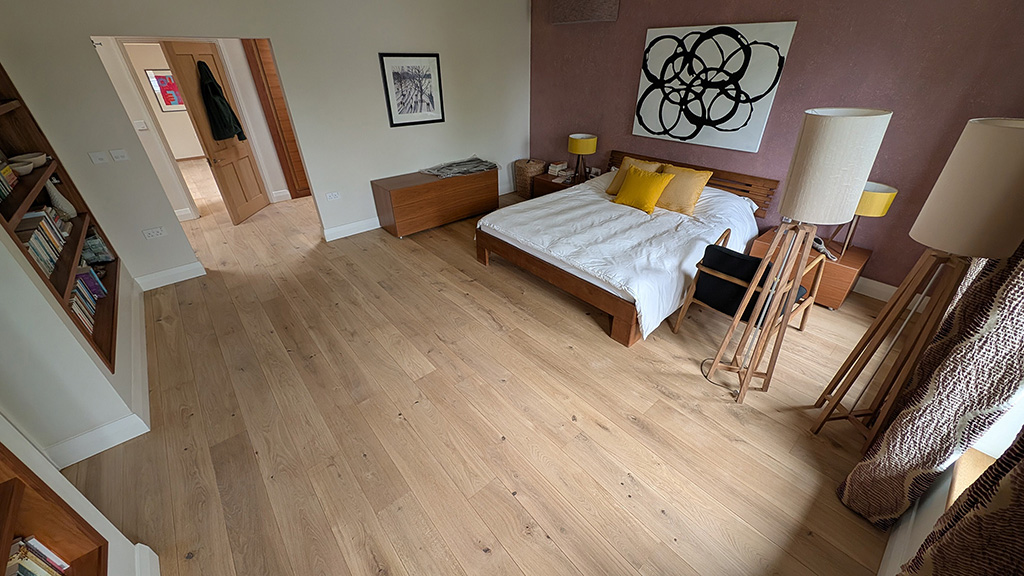
Step 4: Measure Thresholds and Deduct Fixed Obstacles
Accurate measurement for restoration goes beyond the obvious open floor areas.
Include doorway thresholds. The strips of timber running underneath doors, where one room meets another, need to be measured and added to your tally. A wood floor restoration specialist will sand and treat these transition zones so the finish flows seamlessly through the property without visible breaks.
Deduct permanent fixtures. Heavy, plumbed-in kitchen islands, brick fireplace hearths, or floor-to-ceiling fitted wardrobes that won't be removed during the renovation reduce the actual sandable surface area. Measure their footprint, calculate the area, and subtract it from the room total — so you're not paying to restore timber that stays hidden beneath cabinetry.
Contact Floorworks™ for Professional Flooring Solutions
Book your free site visit and a free quote!

Step 5: Measure the Stairs
Stairs are one of the most commonly forgotten areas when homeowners measure for floor sanding — and one of the areas that makes the most visible difference when they're done properly. A staircase with freshly sanded and finished treads alongside a restored hallway floor is a completely different result to one where the stairs were left out.
The key thing to understand is that stairs are not measured by counting the steps. They are measured in linear meter — the total running length of the staircase from bottom to top.
Most standard UK staircases fall within a one-meter width, so measuring the height of the staircase — the vertical rise from the ground floor to the landing — gives you the linear meter figure you need. For example, a staircase with twelve steps at an average rise of 20cm gives a total of 2.4 linear meters. If the staircase is wider than one meter, note that separately as it affects the amount of material and time required.
Don't forget the landing at the top — this is a flat surface and should be measured the same way as any other room, length multiplied by width, and added to your overall total.
Summary
Measuring a property properly for floor restoration means more than working out one big number — it means sectioning the home room by room, correctly calculating both standard and irregular spaces, accounting for thresholds, deducting fixed obstacles, and remembering to include the stairs measured in linear meter rather than by step count.
Following this process gives any wood floor sanding service the accurate figures they need to provide a precise, fair quote — and gives you confidence there won't be surprises once the work begins.
If you don't have a tape measure to hand, or you're still not sure how to work out your measurements, your property floor plan will have all the dimensions you need — most floor plans include room sizes that can be used directly without any measuring at all.


